
Wednesday afternoons I try to make some kind of treat to go along with the activity I’ve planned for my Cub Scouts. Keeping in mind that whatever I make has to be kid-friendly, I usually make something with peanut butter or chocolate. I hadn’t made brownies in a while, so I thought I’d give them a go. These brownies are so easy to make. Most of the work is done in the microwave, but the best part is that they only bake for 30 minutes, unlike most boxed mixes that can take up to 45 minutes. When they’re done, they come out fudgy, with intense chocolate flavor and have a crisp and crinkled top. I’m sure this will become your go-to brownie recipe… it is mine!

Dark Cocoa Brownies Recipe
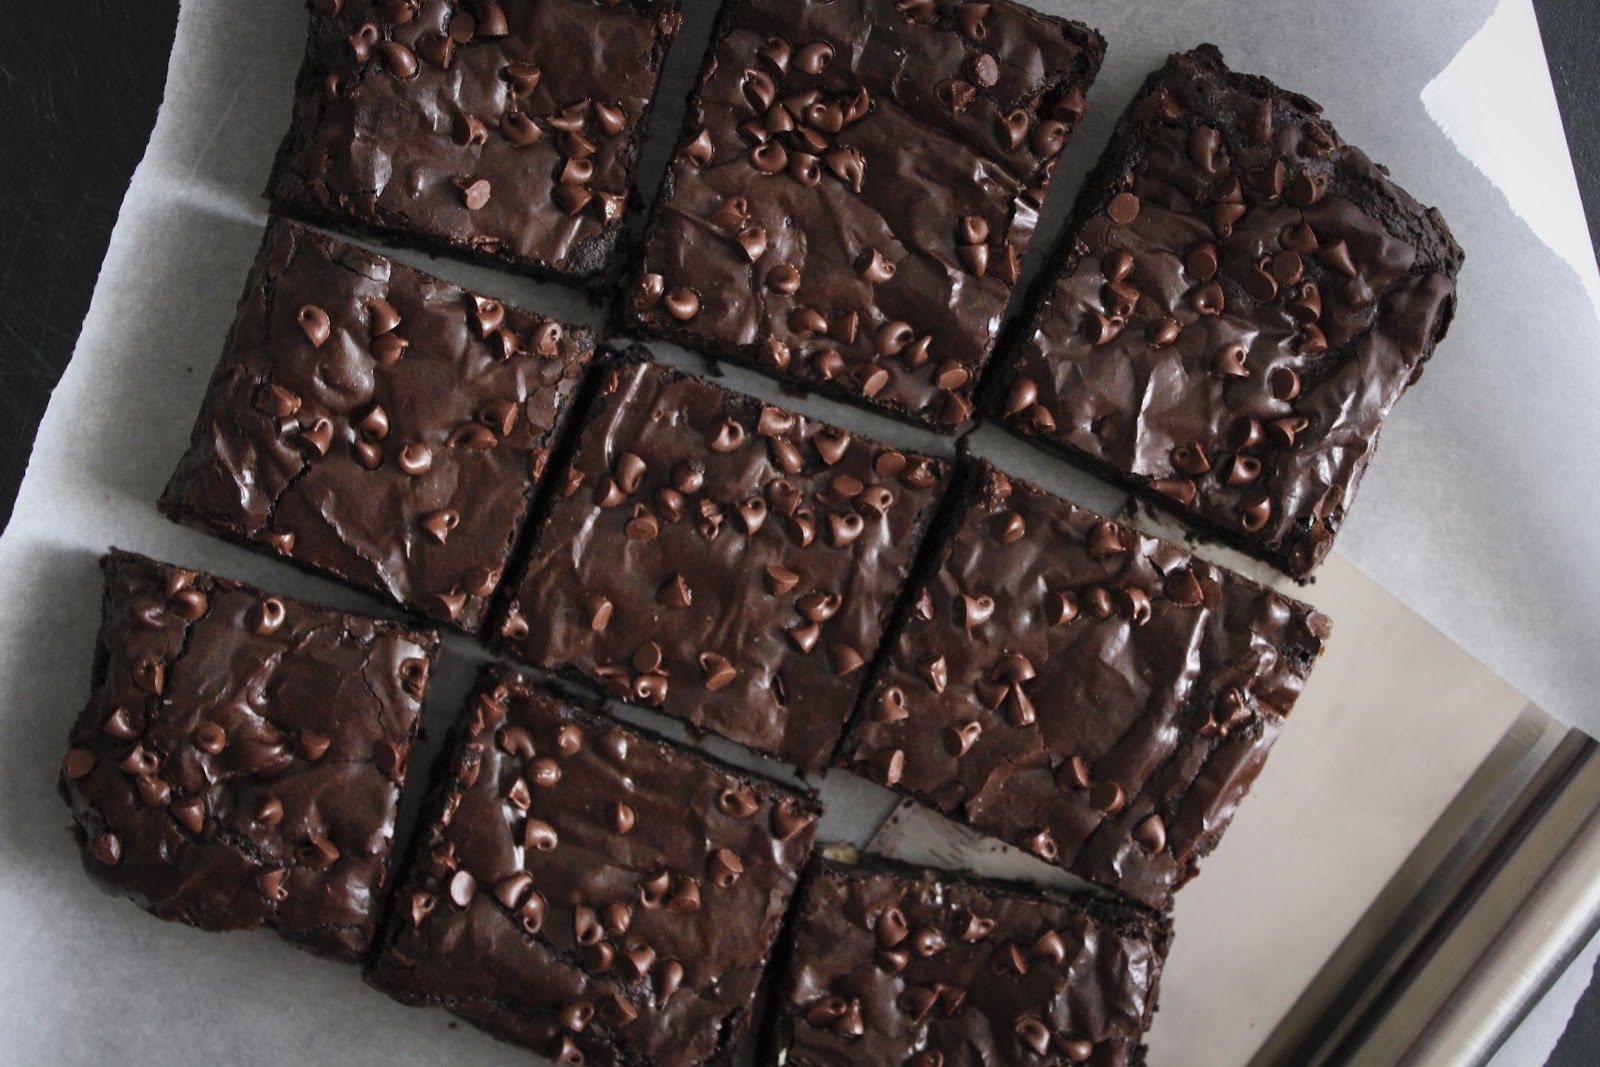
Thick with cocoa and pockets of melted chips, Dark Cocoa Brownies bake into dense squares with a crackled top and bittersweet aroma that hits as soon as you open the oven.
Pin
Rate
Servings: 12 brownies
Calories: 287kcal
Ingredients
- 10 tbsp butter
- 1 1/4 cup sugar
- 3/4 cup unsweetened cocoa powder - we like using Dutch-processed cocoa
- 1/4 teaspoon salt
- 3/4 tsp vanilla extract
- 1/8 tsp espresso powder
- 2 large eggs
- 1/2 cup +2 tbsp all purpose flour
- 1/2 cup chocolate chips
- 1/8 cup mini chocolate chips
- 1/2 cup walnuts - chopped, optional
Instructions
- Preheat the oven to 325 degrees Fahrenheit (163 degrees Celsius). Line an 8x8 square pan with foil, leaving an overhang on two sides (you’ll use these to lift the brownies out later).
- In a medium heatproof bowl, combine the butter, sugar, cocoa, espresso powder, and salt. Microwave on high for approximately 1 minute and 30 seconds. Remove from the microwave and stir with a rubber spatula until the mixture is smooth. It will look gritty, but once it cools a bit and you add the remaining ingredients, it smooths out.
- Stir in the vanilla. Then add the eggs, one at a time, mixing well after each addition. The batter will become smooth and shiny – this is what you want. Slowly add in the flour and mix until it begins to disappear. Beat vigorously by hand for about 45 seconds.
- Add the regular-sized chocolate chips and walnuts. Mix well. Pour into the foil-lined pan and spread evenly. Sprinkle the mini morsels on top.
- Place in the oven and bake for 30 minutes. Remove from the oven and place on a wire rack to cool completely (about 45 minutes or so). Lift up the long ends of the foil and remove from the pan.
NOTES
STORE Fudgy Brownies once completely cooled in an airtight container at room temperature for up to 4 days. For longer storage, refrigerate them for up to a week and bring to room temperature before serving for the best texture.
To FREEZE, wrap individual pieces in plastic wrap, then aluminum foil, and place in a freezer-safe container or zip-top bag. They’ll stay good in the freezer for up to 2 months. Thaw overnight in the fridge or warm briefly in the microwave for a soft, gooey bite.
Nutrition
Serving: 12serving | Calories: 287kcal | Carbohydrates: 35g | Protein: 4g | Fat: 17g | Saturated Fat: 9g | Polyunsaturated Fat: 3g | Monounsaturated Fat: 3g | Trans Fat: 0.4g | Cholesterol: 56mg | Sodium: 138mg | Potassium: 146mg | Fiber: 3g | Sugar: 27g | Vitamin A: 342IU | Vitamin C: 0.1mg | Calcium: 28mg | Iron: 1mg


Hi. These look delish, and cute because of the mini chips on top. But one question: when does the flour get mixed in? Thanks!
Sorry about that, the directions should be correct now. You will add it in step 3 🙂
Oooh, yum yum yum! These look divine!! And such beautiful photography! I love it!!