With its gooey center and crispy edges, Pão de Queijo, the famous Brazilian Cheese Bread, is a snack you’ll crave after just one bite.

Brazilian Cheese Bread, or Pão de Queijo, is a delightfully chewy, gluten-free treat made from tapioca flour and lots of cheese. These small, golden puffs have a crisp exterior and a soft, airy center with a rich, savory flavor that’s irresistibly cheesy. Traditionally enjoyed warm, they’re a staple in Brazilian cuisine. Once you’ve tried them you will want to keep making them over and over again!
For more delicious bread recipes, you have to try my Cheesy Garlic Bread, Cloud Bread, and Garlic Parmesan Artisan Bread.
Table of Contents
Recipe Ingredients
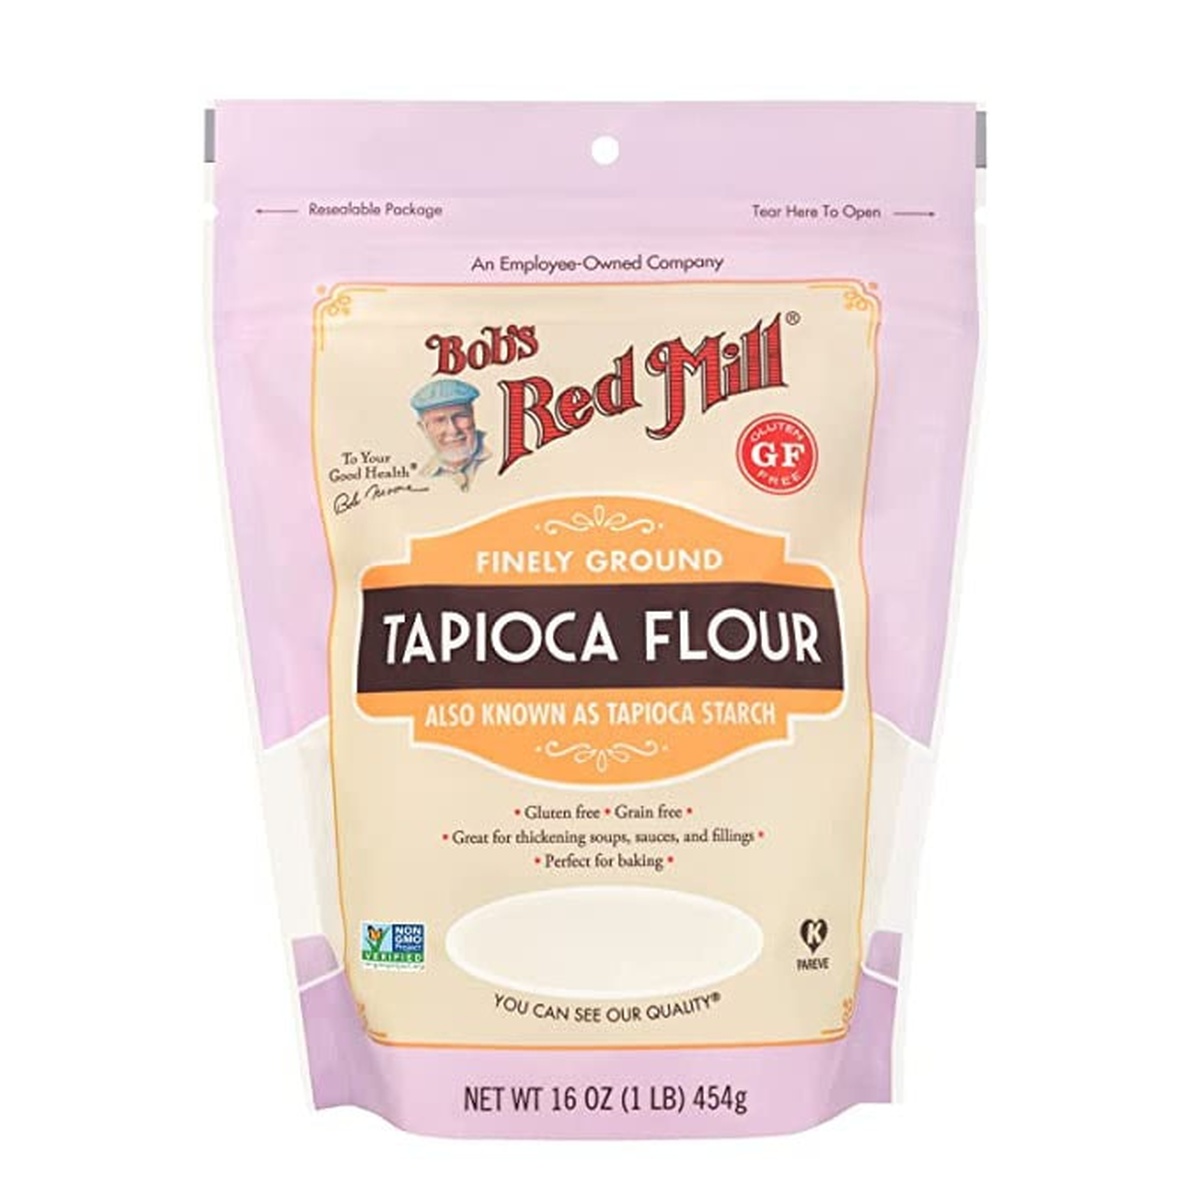
Tapioca Flour – I use Bob’s Red Mill tapioca flour (also known as tapioca starch), a naturally gluten-free option.
Milk – I prefer whole milk for richness, but any milk, including plant-based options, can work. Use what you have on hand, but keep in mind that higher fat content adds a richer texture.
Cheese – I usually go for mozzarella and cotija or parmesan, but you can try sharper or stronger cheeses for a bolder flavor.
For a full list of ingredients and amounts, see the recipe card below.
Variations
Cheese Varieties – Experiment with different cheeses, like sharp cheddar cheese for a bolder flavor. Have fun and find your favorite combo!
Oat Milk – Substitute whole milk with oat milk for a dairy-free option that still provides a creamy consistency.
How to Make Brazilian Cheese Bread
Step 1: Preheat the oven to 350 degrees Fahrenheit (175 degrees Celsius). Line a baking pan with parchment paper and set it aside.
Step 2: In a large saucepan placed over medium-high heat, boil the milk, oil, and salt, whisking occasionally. Remove from heat when you see large bubbles forming. Working quickly, stir in the tapioca flour. The dough will become very tacky and gummy, almost gelatinous.
Step 3: Transfer the dough to the bowl of a stand mixer fitted with a paddle attachment. Turn the mixing speed to low and gradually increase to medium. Beat the mixture for 2-3 minutes until it becomes smooth. Add the grated cheeses and mix until incorporated. Turn the mixing speed to low, and add the eggs one at a time. Beat on medium for 2-3 minutes until a sticky, stretchy dough forms.
Step 4: Using an ice cream scoop, create portions by dipping the scoop in water, scooping the batter, and placing it onto the prepared baking sheet. Place in the oven and bake for 25-30 minutes, or until the tops and sides are golden brown and the outsides are crisp. (They may look a little greasy, but that’s from the cheese, and they won’t be greasy once they cool.)
Step 5: Remove from the oven and allow to cool on the sheet for a few minutes before serving.

FAQs
Yes! Using muffin tins is a great option if you prefer a puffy, roll-like shape instead of the usual round shape. If you want smaller portions, you can use a mini muffin tin or mini muffin pan. Just keep an eye on the rolls to make sure the tops don’t overbrown.
Pair your cheese bread with flavorful options like No Soak Instant Pot Pinto Beans, Instant Pot Black Beans, or sweet Brazilian Chocolate Truffles for a complete meal or snack spread.

Storage Information
STORE any leftover Pão de Queijo in an airtight container at room temperature for up to 2 days. To FREEZE, place unbaked dough balls on a baking sheet for 2-3 hours until solid, then transfer them to an airtight Ziploc bag for up to 3 months. Bake like normal from frozen, adding an extra 5-10 minutes.
If you want to quickly REHEAT without worrying about texture, microwave for 15-20 seconds. To retain crispiness, reheat in a 350-degree Fahrenheit (175 degrees Celsius) oven for 8-12 minutes.
Try These Bread Recipes Next

Brazilian Cheese Bread Recipe
Ingredients
- 1 cup whole milk
- 1/2 cup vegetable oil
- 1 1/4 teaspoon salt
- 2 cup tapioca flour*
- 1 cup part-skim mozzarella cheese - finely shredded
- 1/2 cup cotija - OR queso fresco OR parmesan cheese, finely shredded
- 2 large eggs - room temperature (See Notes)
Instructions
- Preheat the oven to 350 degrees Fahrenheit (175 degrees Celsius). Line a baking pan with parchment paper and set it aside.
- In a large saucepan placed over medium-high heat, boil the milk, oil, and salt, whisking occasionally. Remove from heat when you see large bubbles forming. Working quickly, stir in the tapioca flour. The dough will become very tacky and gummy, almost gelatinous.
- Transfer the dough to the bowl of a stand mixer fitted with a paddle attachment. Turn the mixing speed to low and gradually increase to medium. Beat the mixture for 2-3 minutes until it becomes smooth. Add the grated cheeses and mix until incorporated. Turn the mixing speed to low, and add the eggs one at a time. Beat on medium for 2-3 minutes until a sticky, stretchy dough forms.
- Using an ice cream scoop, create portions by dipping the scoop in water, scooping the batter, and placing it onto the prepared baking sheet. Place in the oven and bake for 25-30 minutes, or until the tops and sides are golden brown and the outsides are crisp. (They may look a little greasy, but that’s from the cheese, and they won’t be greasy once they cool.)
- Remove from the oven and allow to cool on the sheet for a few minutes before serving.
VIDEO
NOTES
- Tapioca flour can be found in the baking aisle at most grocery stores with a natural foods section or at a specialty store like Whole Foods. Bob’s Red Mill is the brand I used.
- To quickly bring eggs to room temperature, place them in a bowl of warm water for 5 minutes, then remove and use.


YUMMM, My family is from Brazil and this is a legit recipe! We use it all the time and love it. Thanks for sharing it. Searching for soccer supplies and ended up with a recipe page, lol. love it.
Awe, thank you for sharing that! That makes me so happy! Glad it led you here!
Brazil would be so fun to see! Can’t wait to try this bread! Looks so soft & pillow-y!
These are a family favorite from our time living in Brazil! Thanks for this awesome recipe so we can make it back here in the USA.
These came out great! First time trying them and they were delicious!
This bread is delicious and delicate.
The recipe is easy to follow. The only thing I added to the recipe so that the cheese bread would be a little fluffy, was 1/2 tsp of baking power. It definitely makes a difference.
Wish I could add a picture to this comment so you could see the difference between a almost flat bread to a round one with a little height.
So glad you liked it & thank you for sharing what you did!