Indulge in these Raspberry Thumbprint Cookies. Buttery cookies and a bright ruby center are certain to be the highlight of your holiday season.
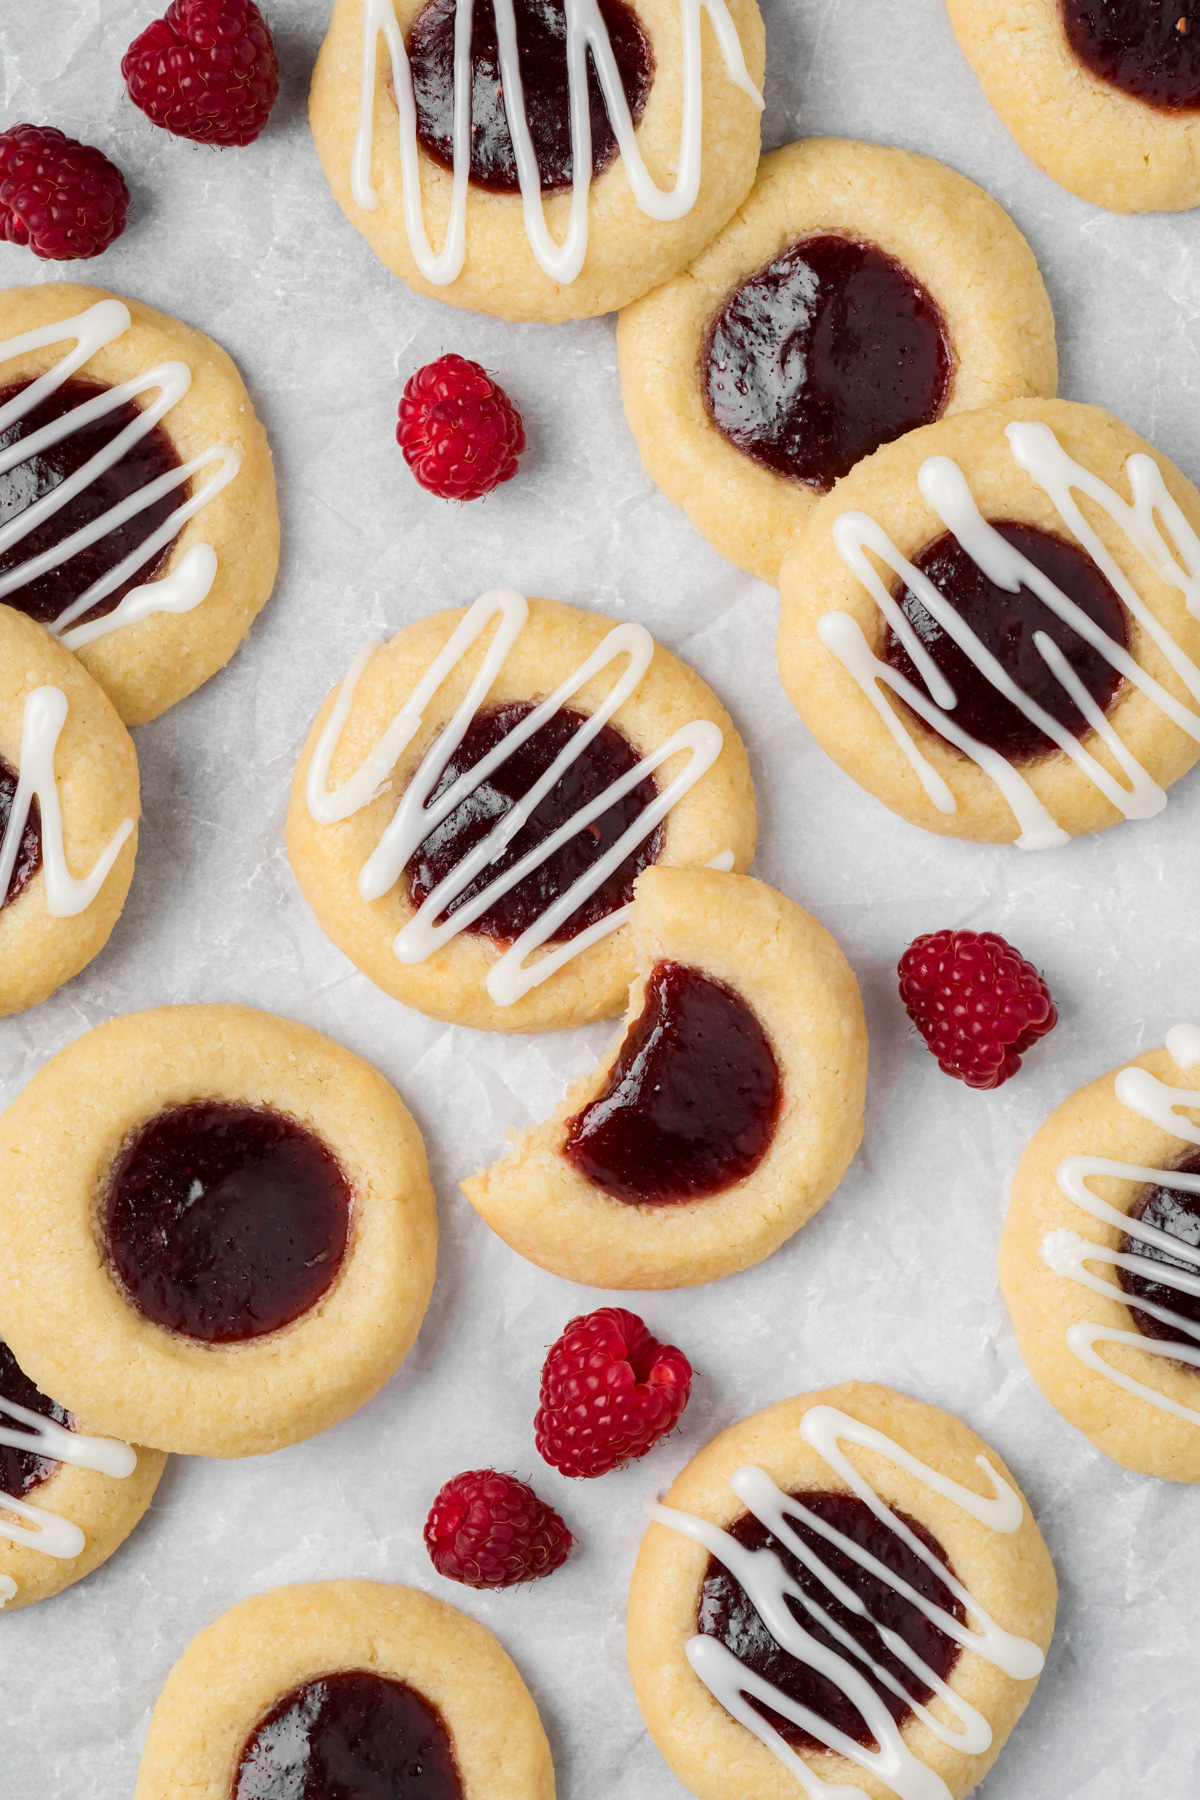
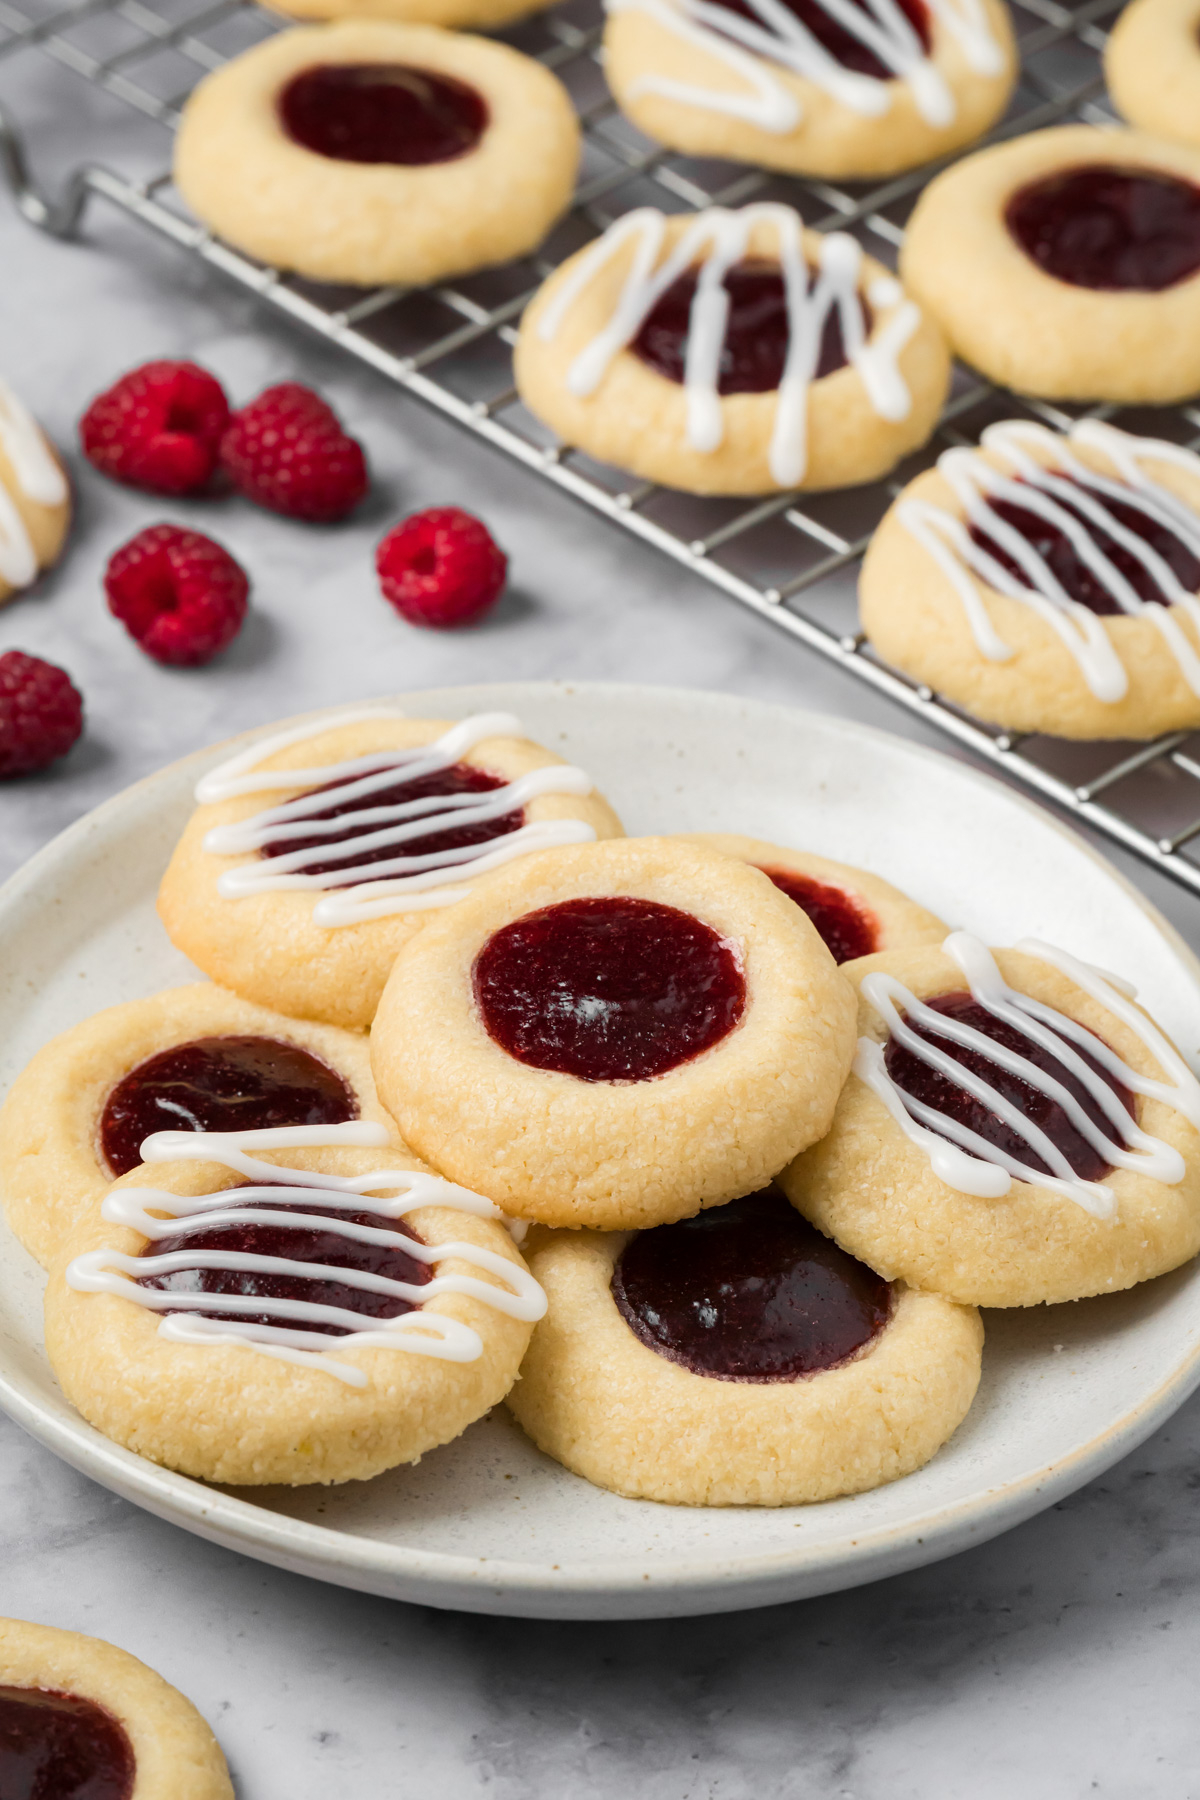
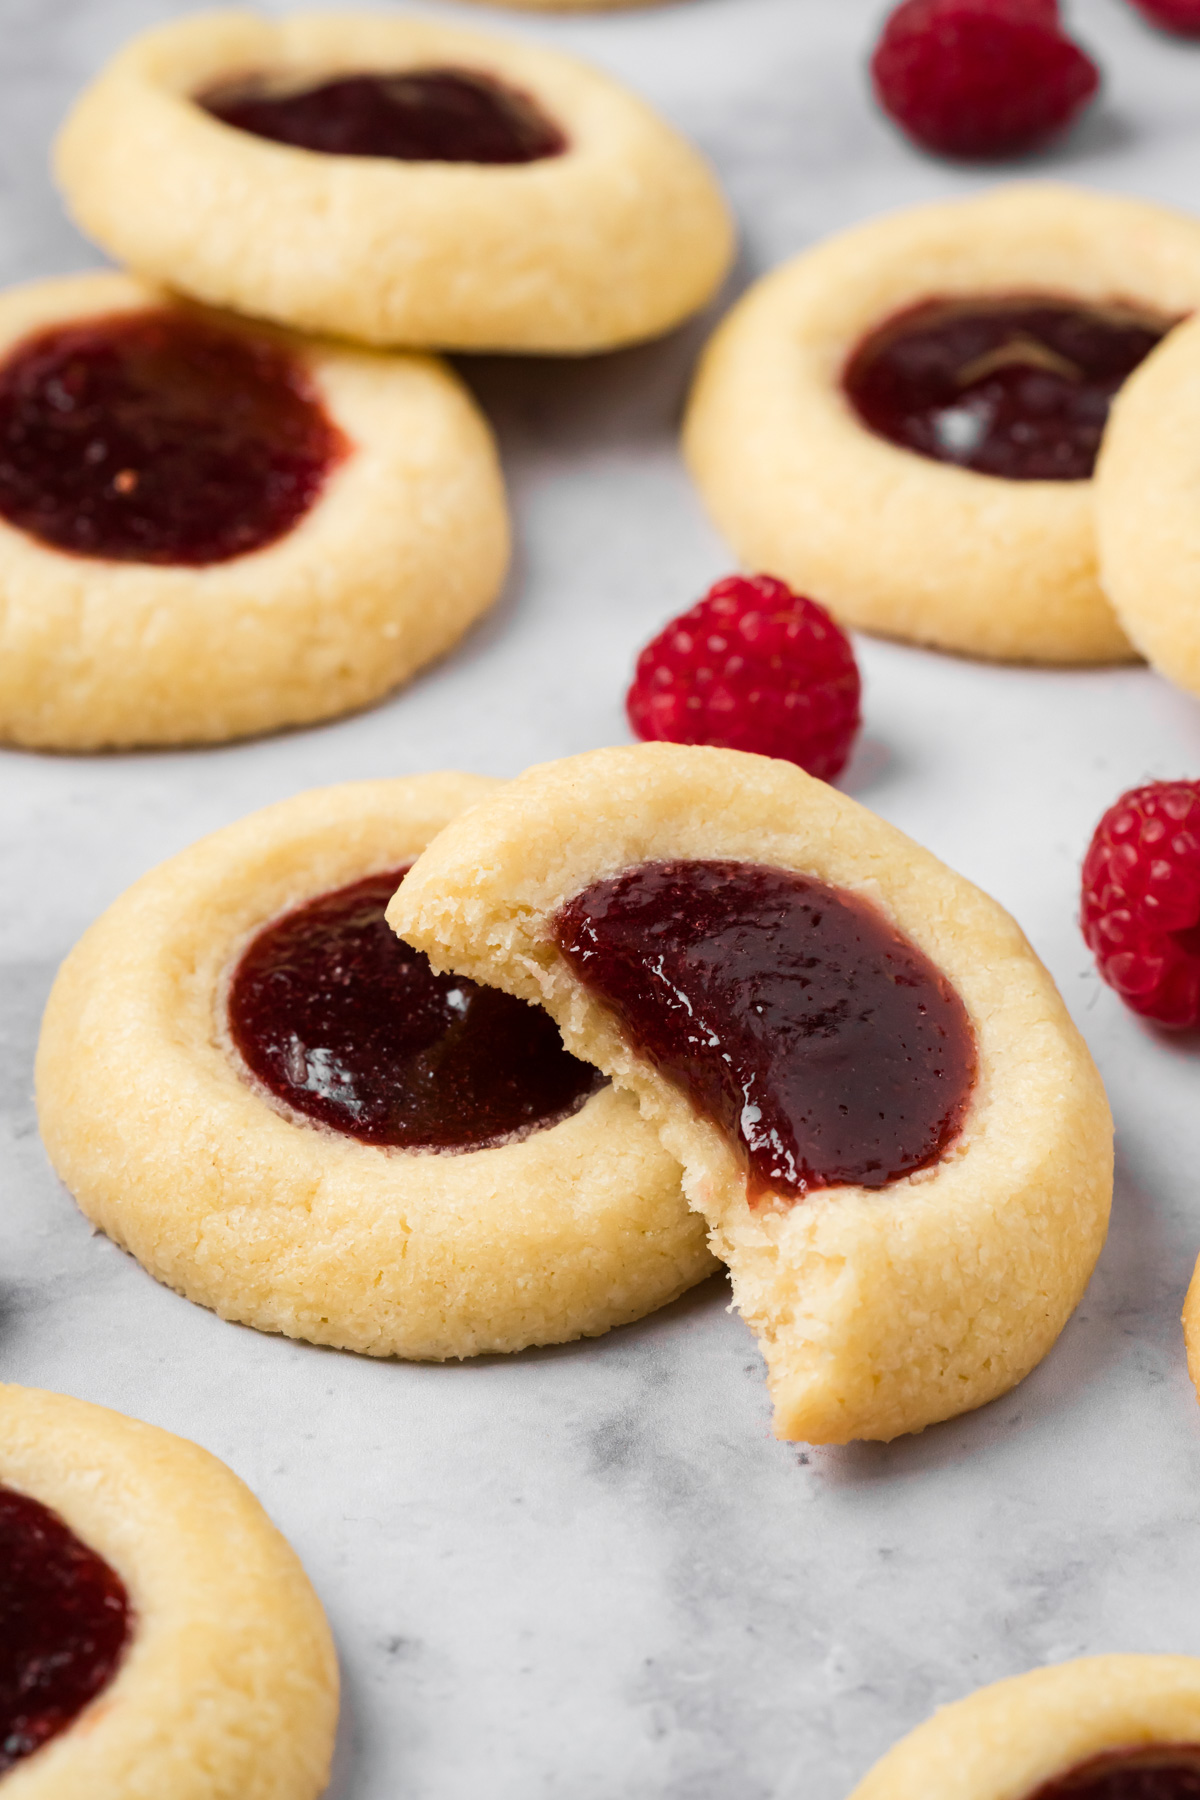
These Raspberry Thumbprint Cookies have tender, buttery edges and a bright raspberry jam center with an optional drizzle of sweet glaze that adds balance in every bite. Their ruby-red centers look right at home on a holiday cookie tray, and I love serving them with a cup of tea any time of year.
Thumbprint cookies are classic especially when it comes to the holidays. For more thumbprint cookie recipes you have to check out my Meyer Lemon Curd Thumbprints and Peanut Butter and Jelly Thumbprint Cookies.
Table of Contents
Why You’ll Love These Raspberry Thumbprint Cookies
- Tender, buttery cookies – Butter, brown sugar, and a touch of cornstarch create a rich cookie dough with a delicate texture that pairs beautifully with the sweet and tangy raspberry filling.
- Sweet and fruity raspberry centers – Seedless raspberry jam adds a bright, slightly tart contrast to the buttery cookies, creating that classic thumbprint cookie flavor in every bite.
- Beautiful holiday presentation – The ruby-red jam centers make these cookies a festive addition to Christmas cookie trays, holiday parties, and homemade cookie gift boxes.
- Simple sweet glaze – A simple two-ingredient glaze made with confectioners’ sugar and milk adds a pretty finishing touch without covering up the raspberry flavor.
- Easy to prepare ahead – The dough is shaped and chilled before baking, making it convenient to prepare the cookies in stages when you’re planning holiday baking.
Recipe Ingredients
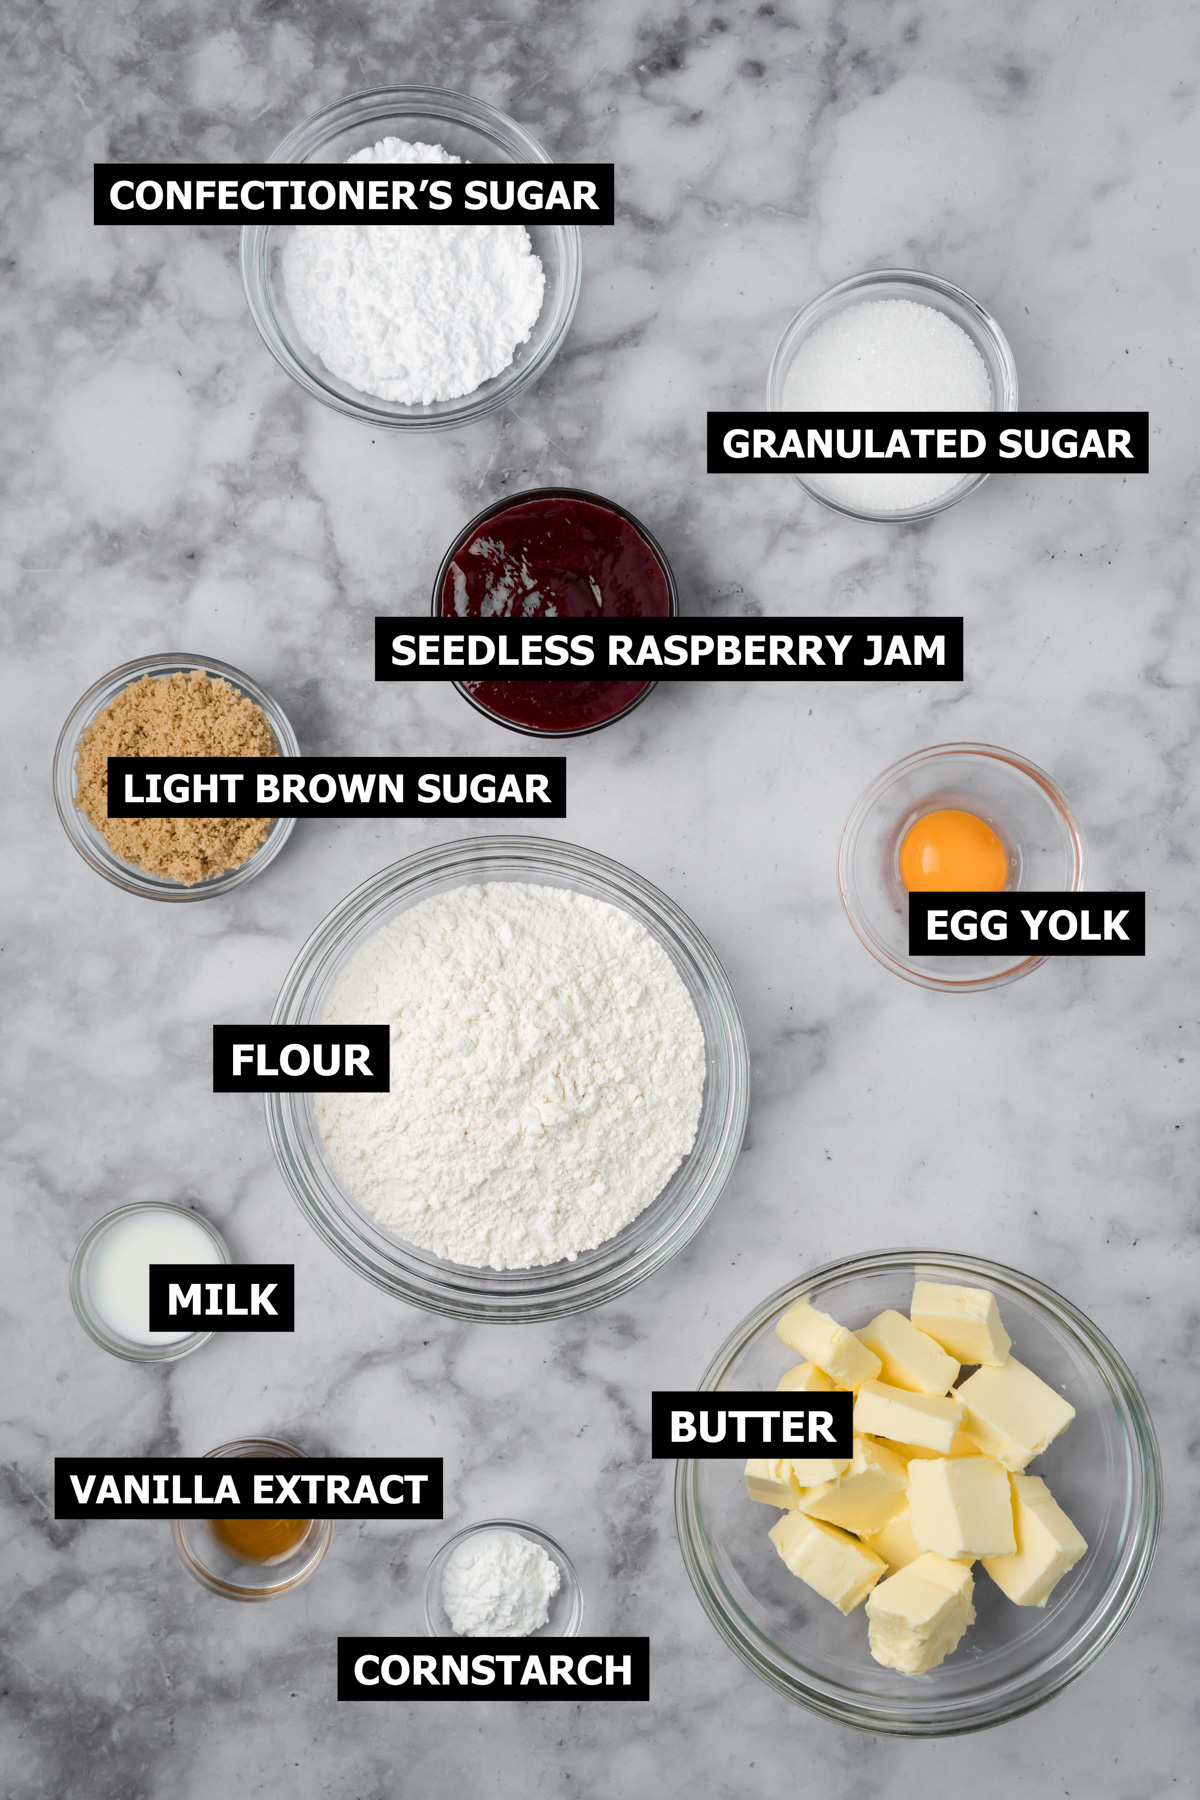
Butter: The foundation of these cookies, giving them their rich flavor and tender texture. Use softened butter so it creams easily with the sugars.
Granulated and Light Brown Sugar: The combination adds sweetness, while the brown sugar brings a subtle molasses flavor to the buttery dough.
Cornstarch: A small amount of cornstarch helps create a more delicate cookie texture by reducing some gluten development in the dough.
Seedless Raspberry Jam: Creates the bright, fruity center of each cookie. Choose a thick, flavorful jam for the best results and to help prevent the filling from running during baking.
For a full list of ingredients and amounts see the recipe card below.
How to Make Raspberry Thumbprint Cookies
Step 1: In a bowl of a stand mixer with a paddle attachment or using an electric mixer add the butter and sugars and beat until fluffy. Scrape down the sides as needed.
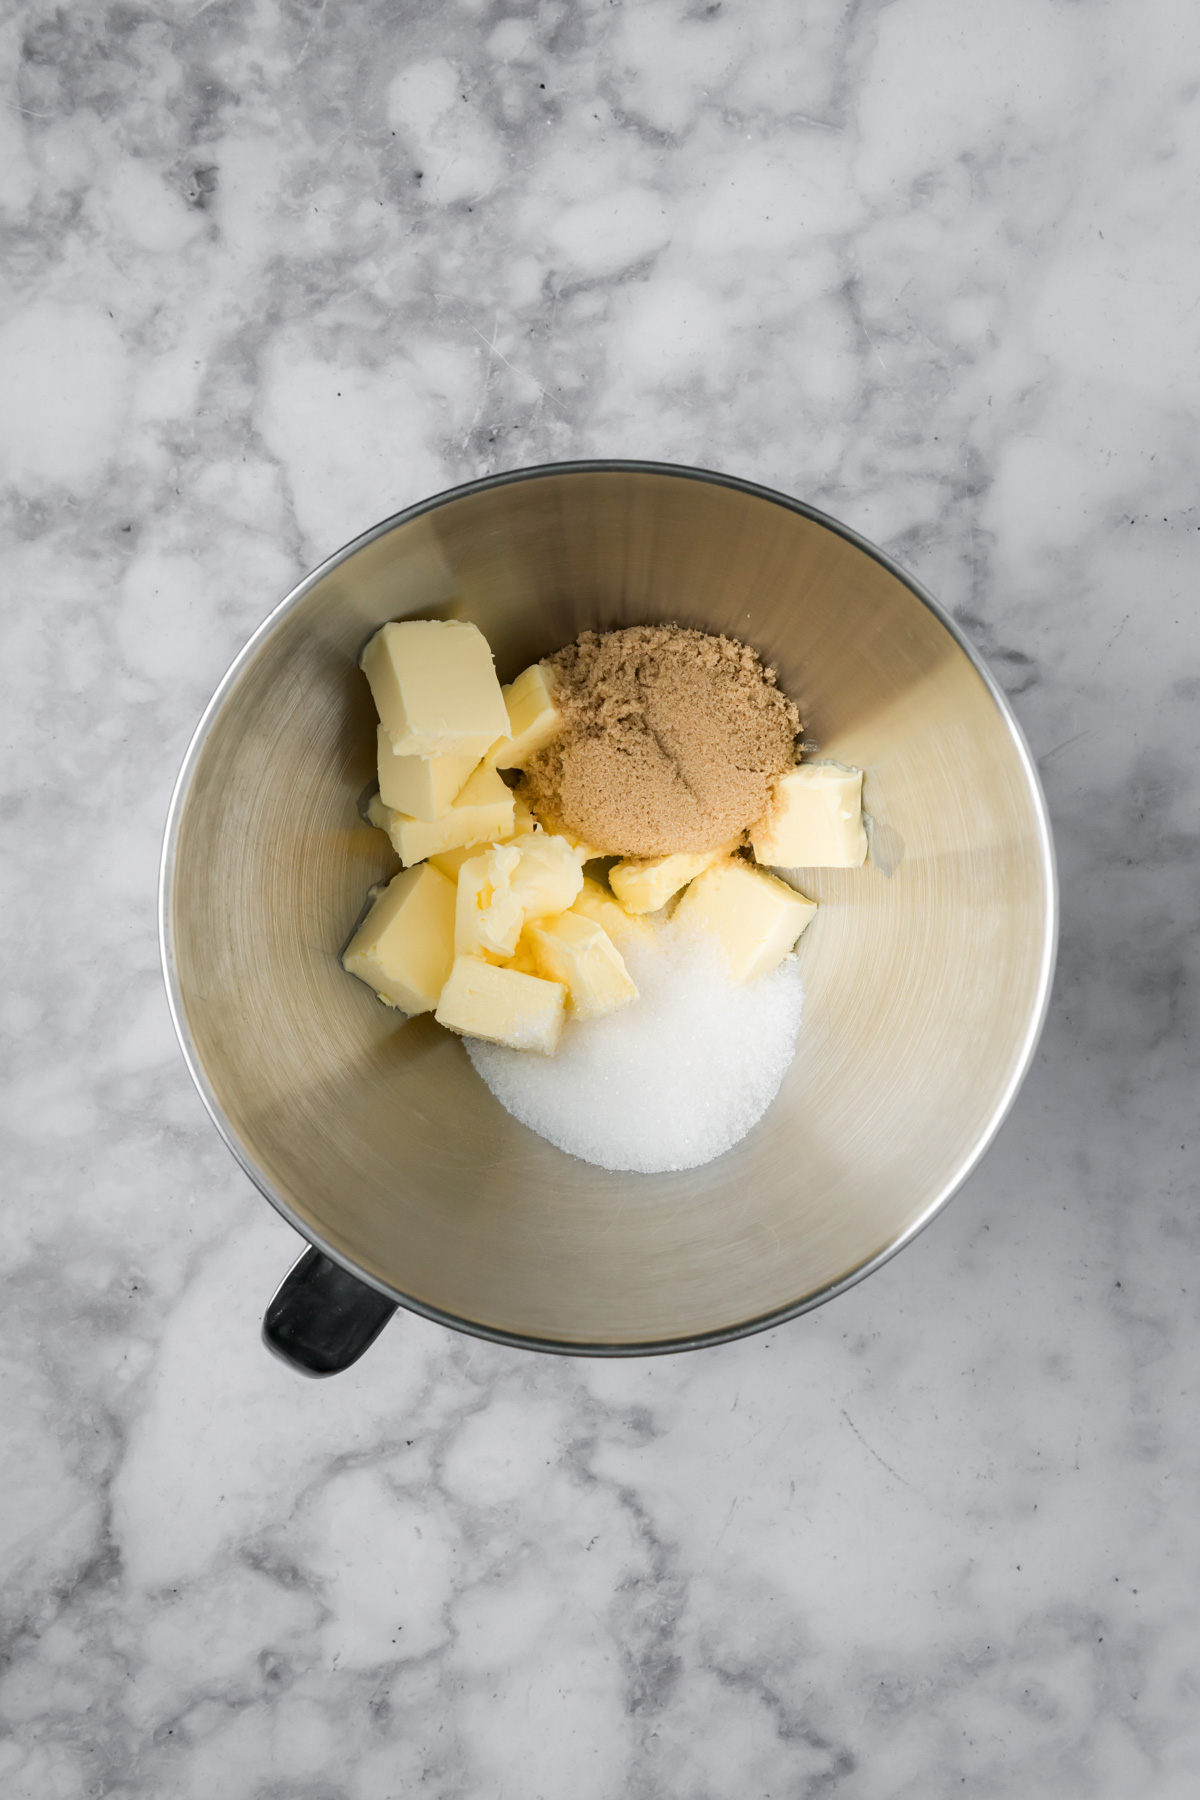
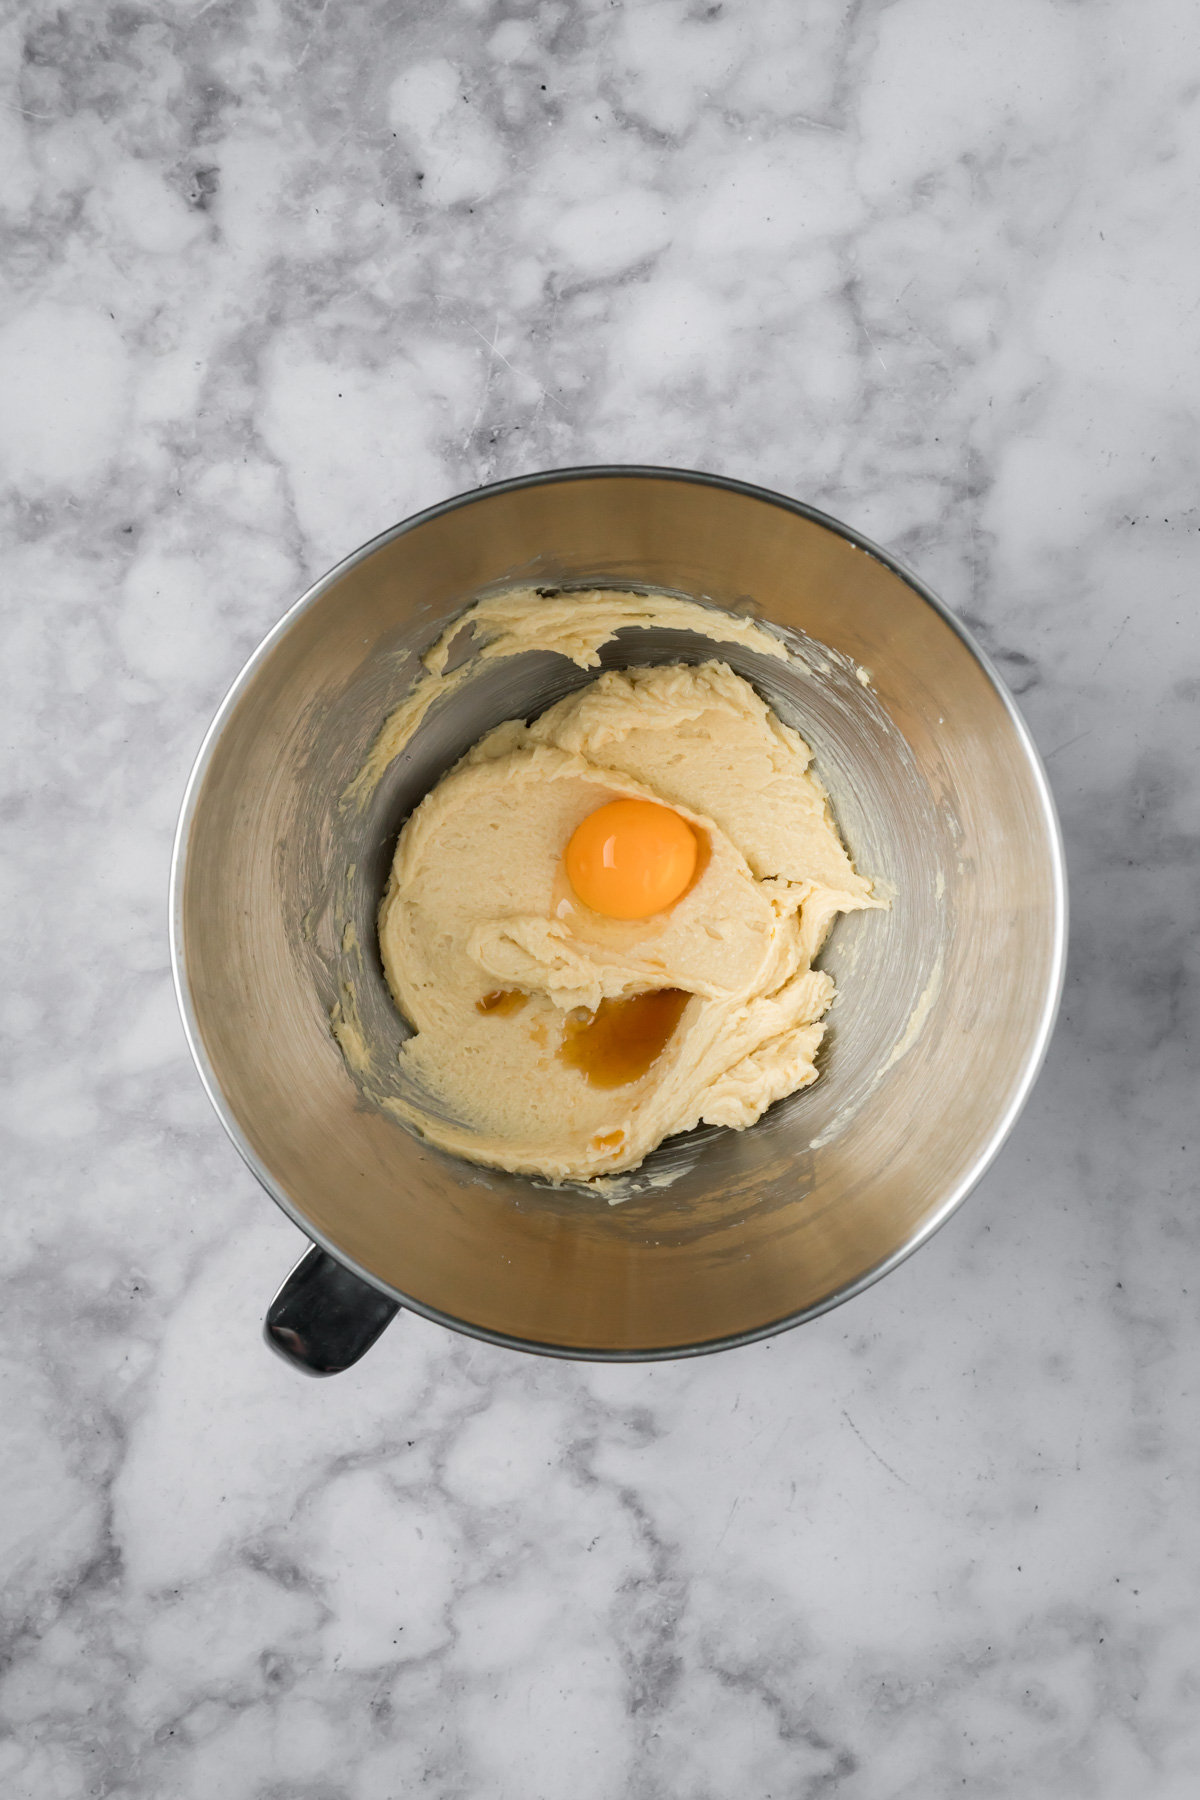
Step 2: Next, add the egg yolk and vanilla extract and mix until combined.
Step 3: Then add the all-purpose flour and cornstarch and mix until a soft dough forms.
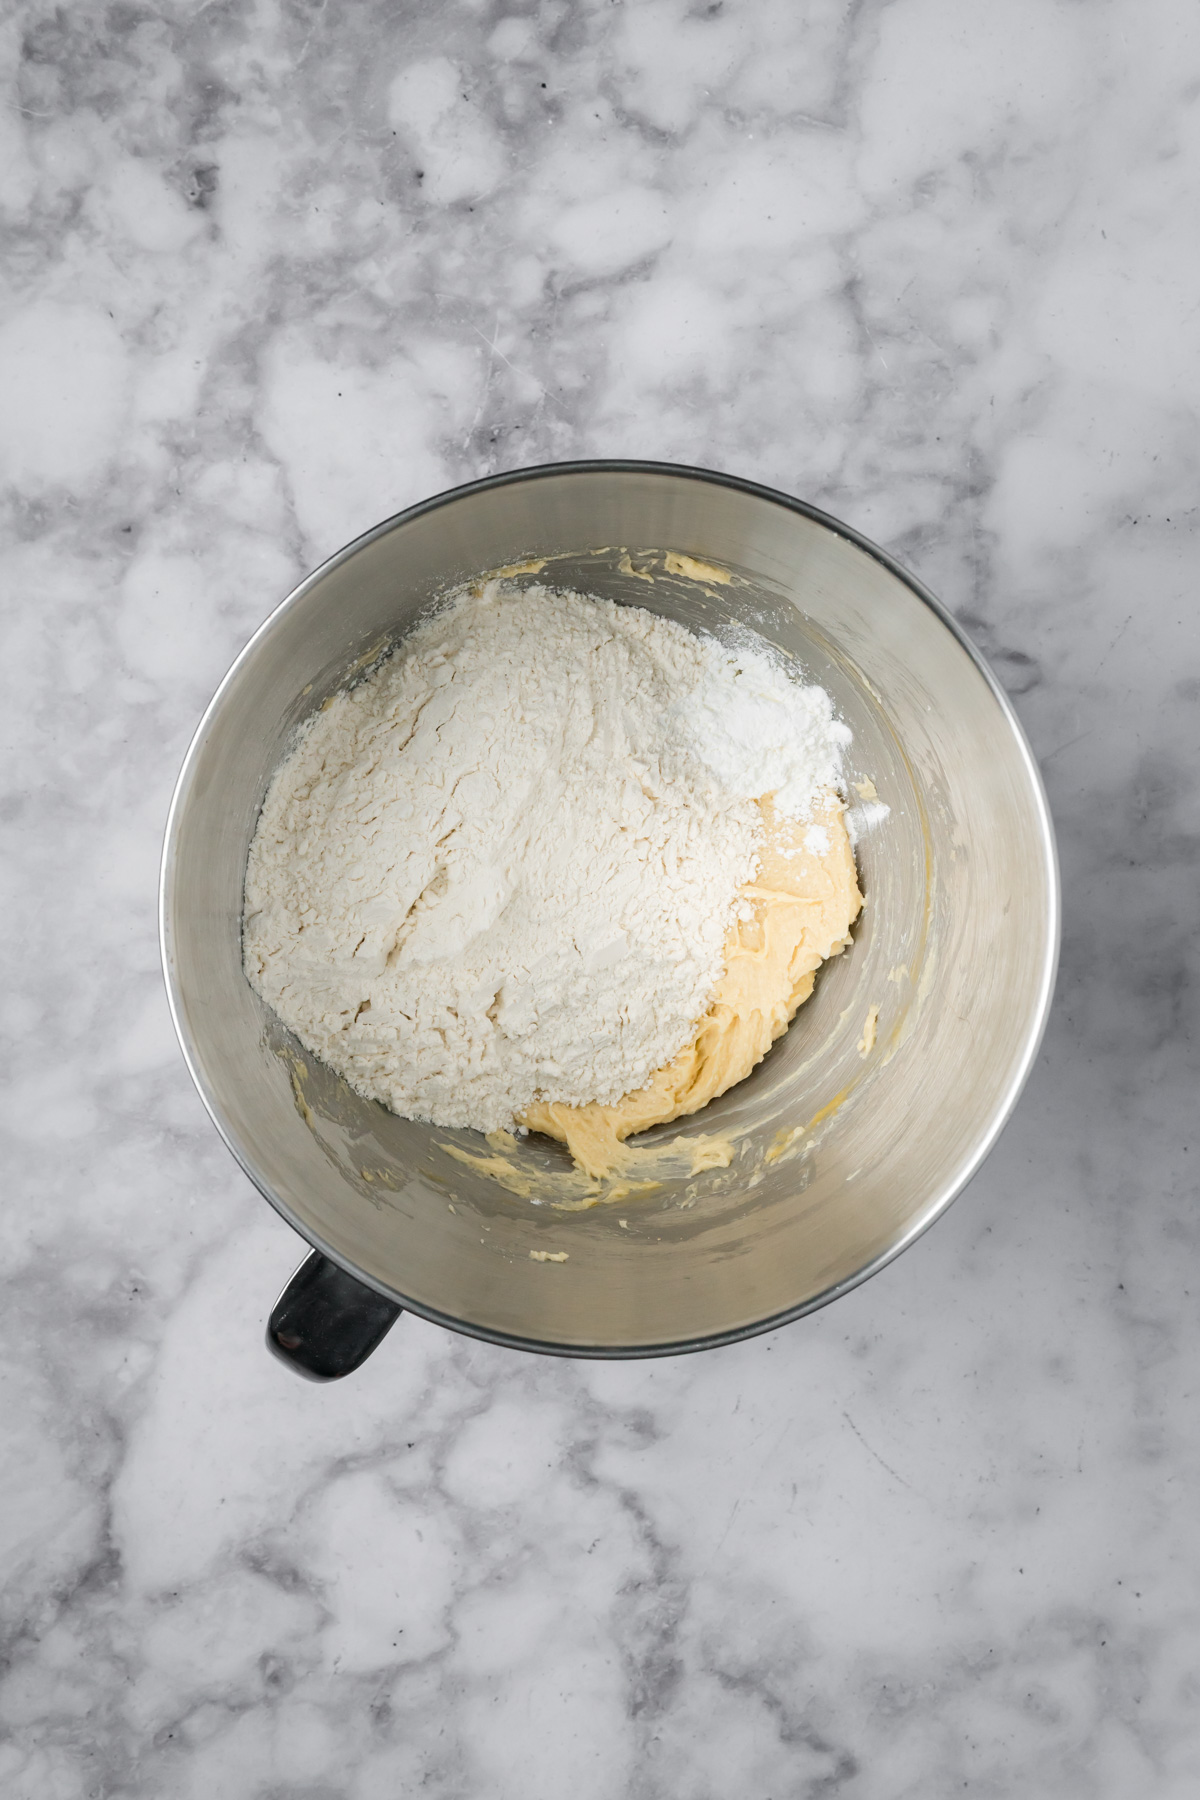
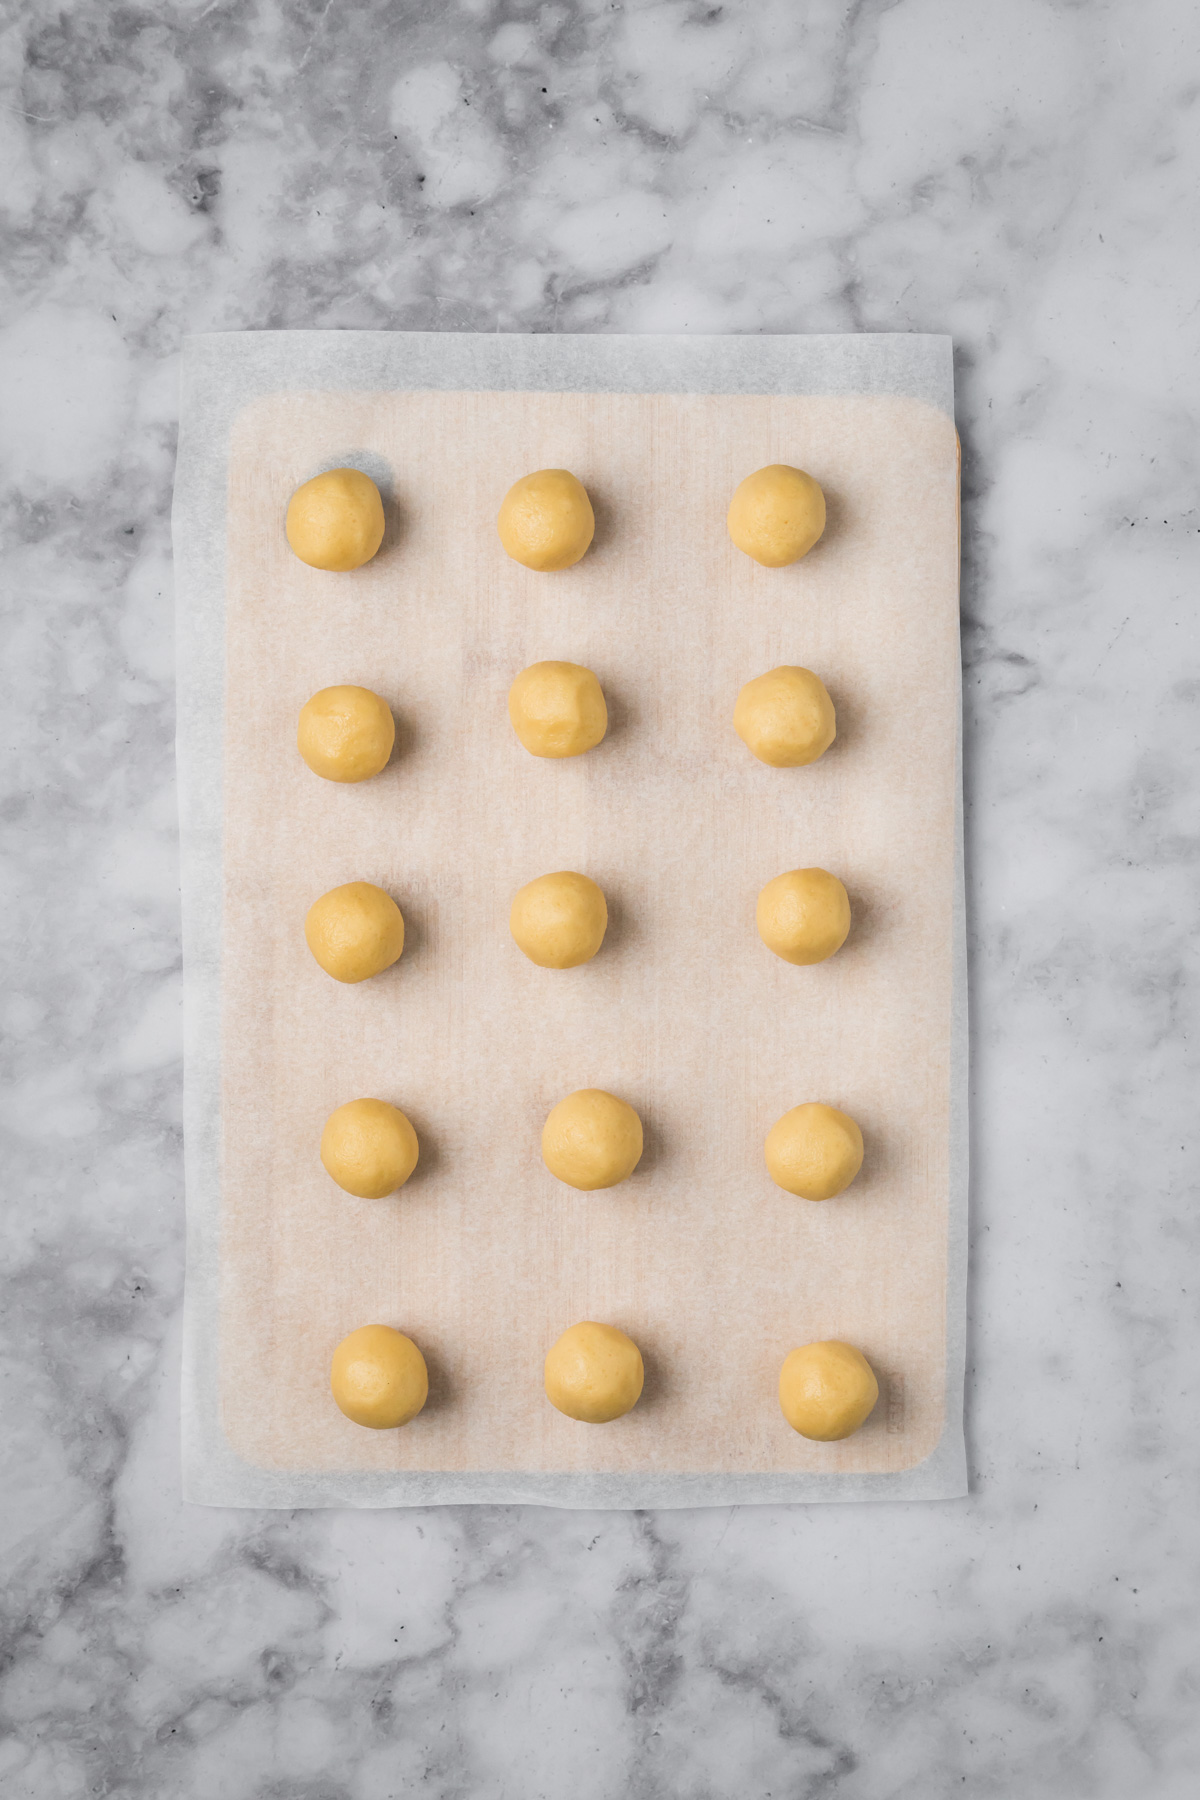
Step 4: Scoop 1 Tablespoon sized cookie dough balls and roll well so there are no cracks and place them on parchment paper or a baking sheet.
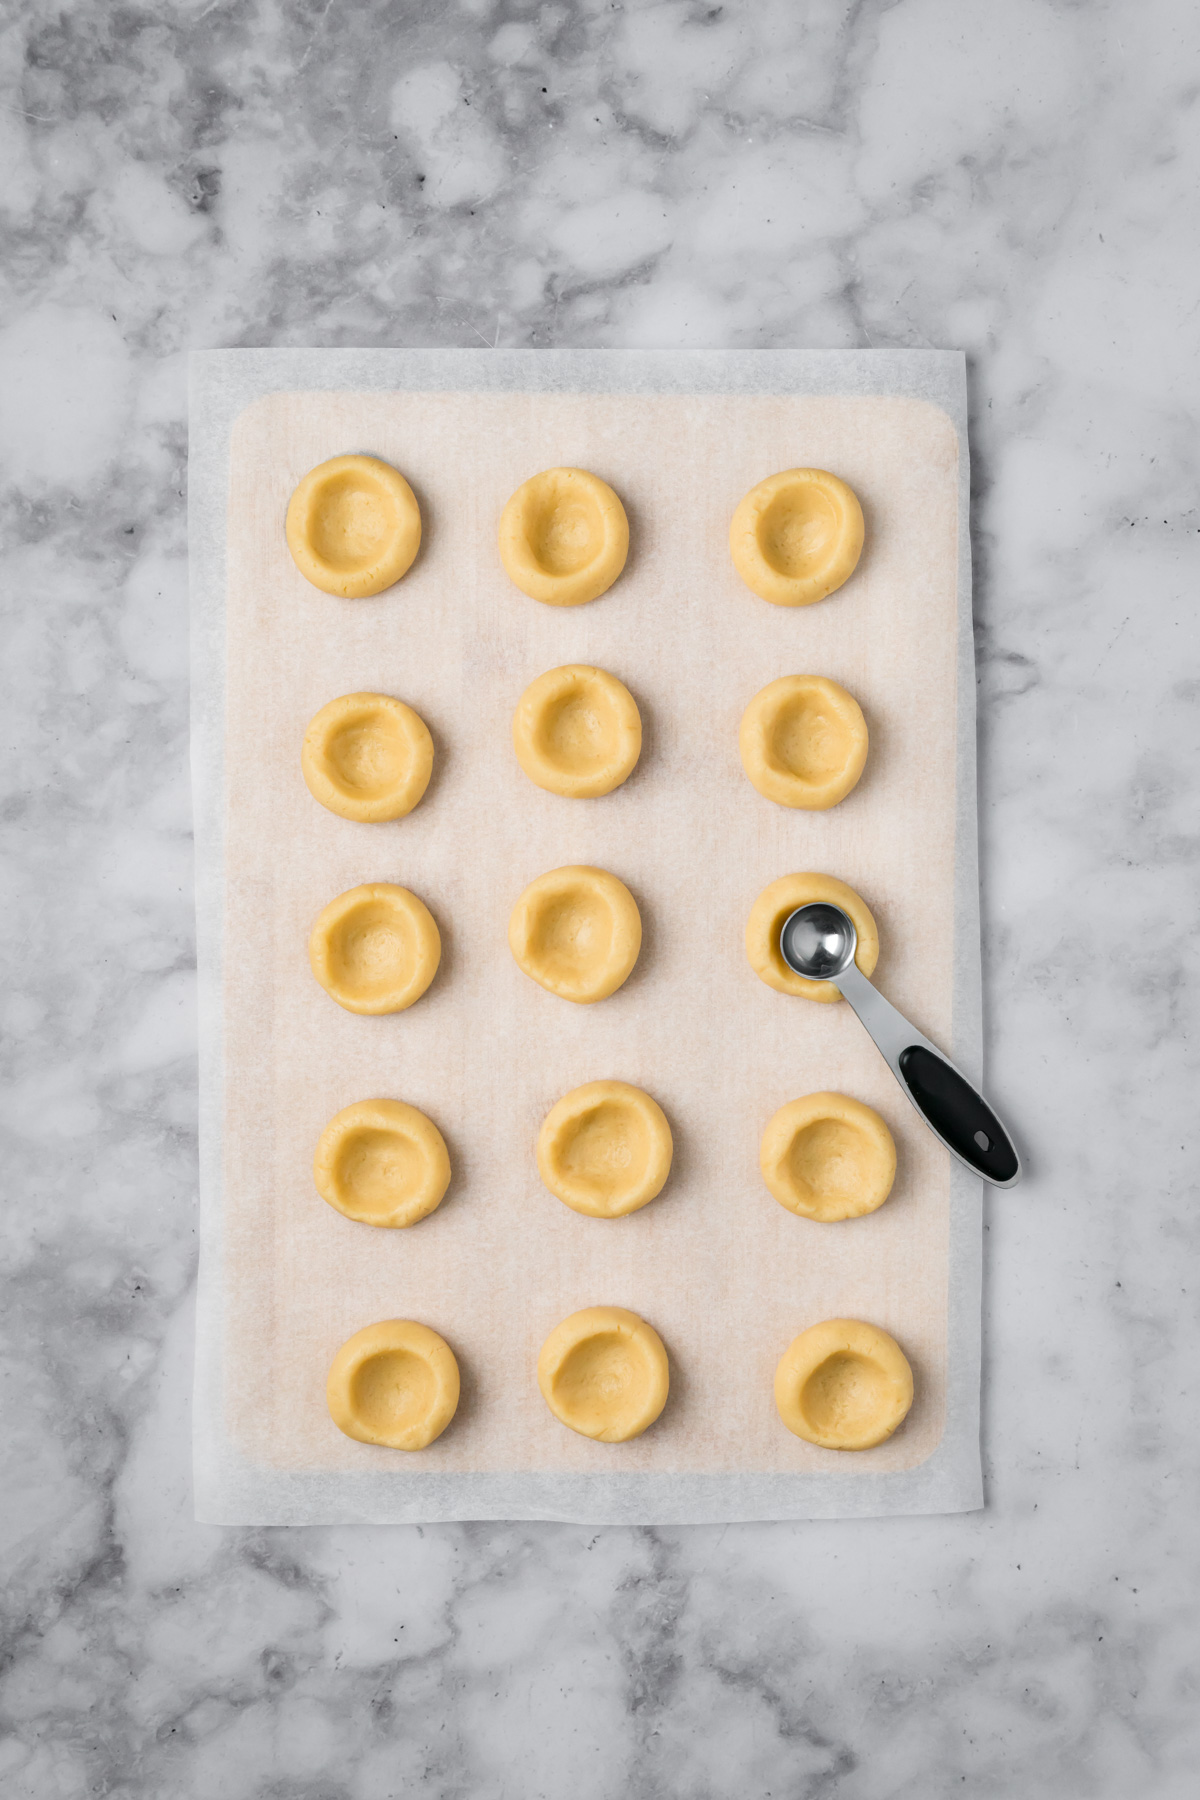
Step 5: Using the back of a teaspoon, or your thumb, gently press a small indentation in the center of the cookie dough. Be sure to smooth out any cracks.
Step 6: Transfer the cookie dough balls to the freezer and chill for 30 minutes.
Step 7: Towards the end of the chilling time preheat your oven to 375 degrees Fahrenheit.
Step 8: Next, place the jam in a microwave safe bowl and microwave for 5-7 seconds to help loosen the jam then whisk the jam until smooth.
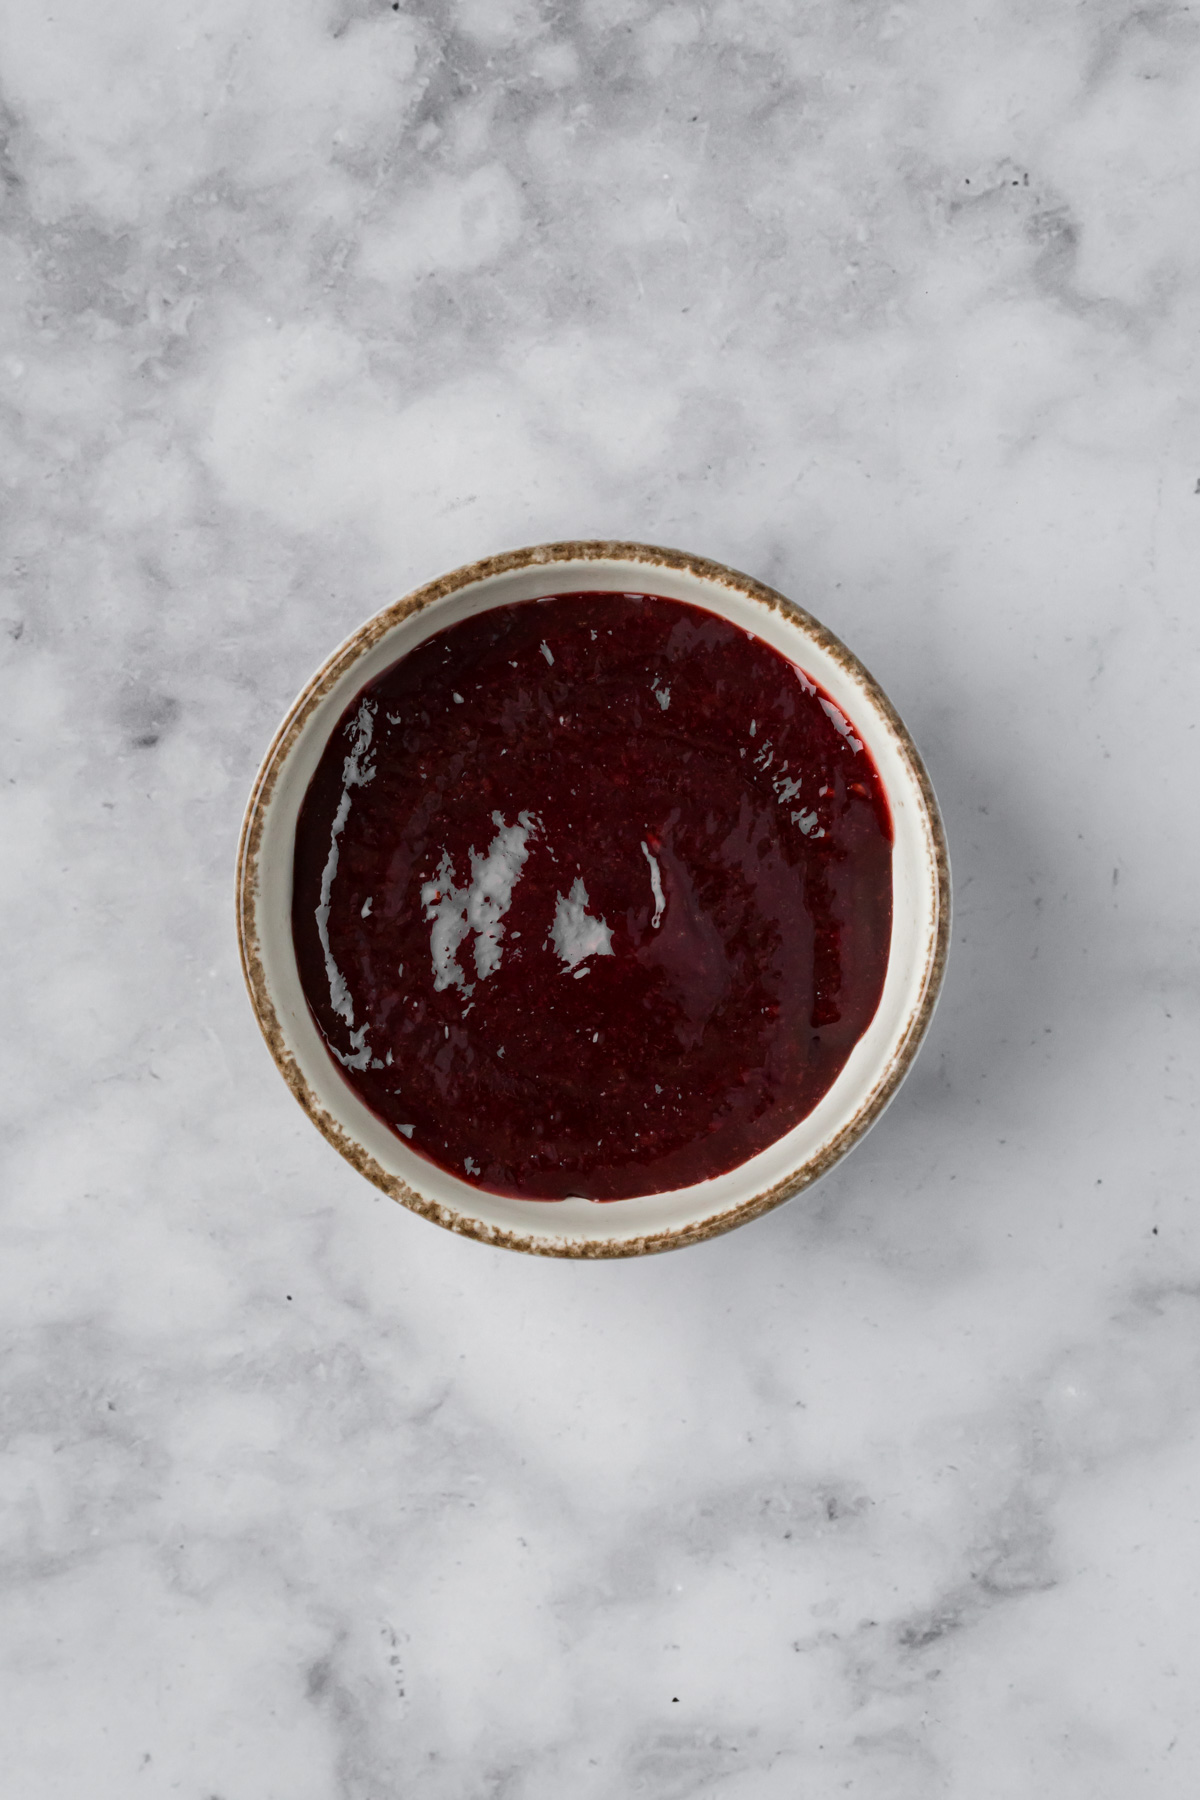
Step 9: Spoon the jam into each indent to the brim.
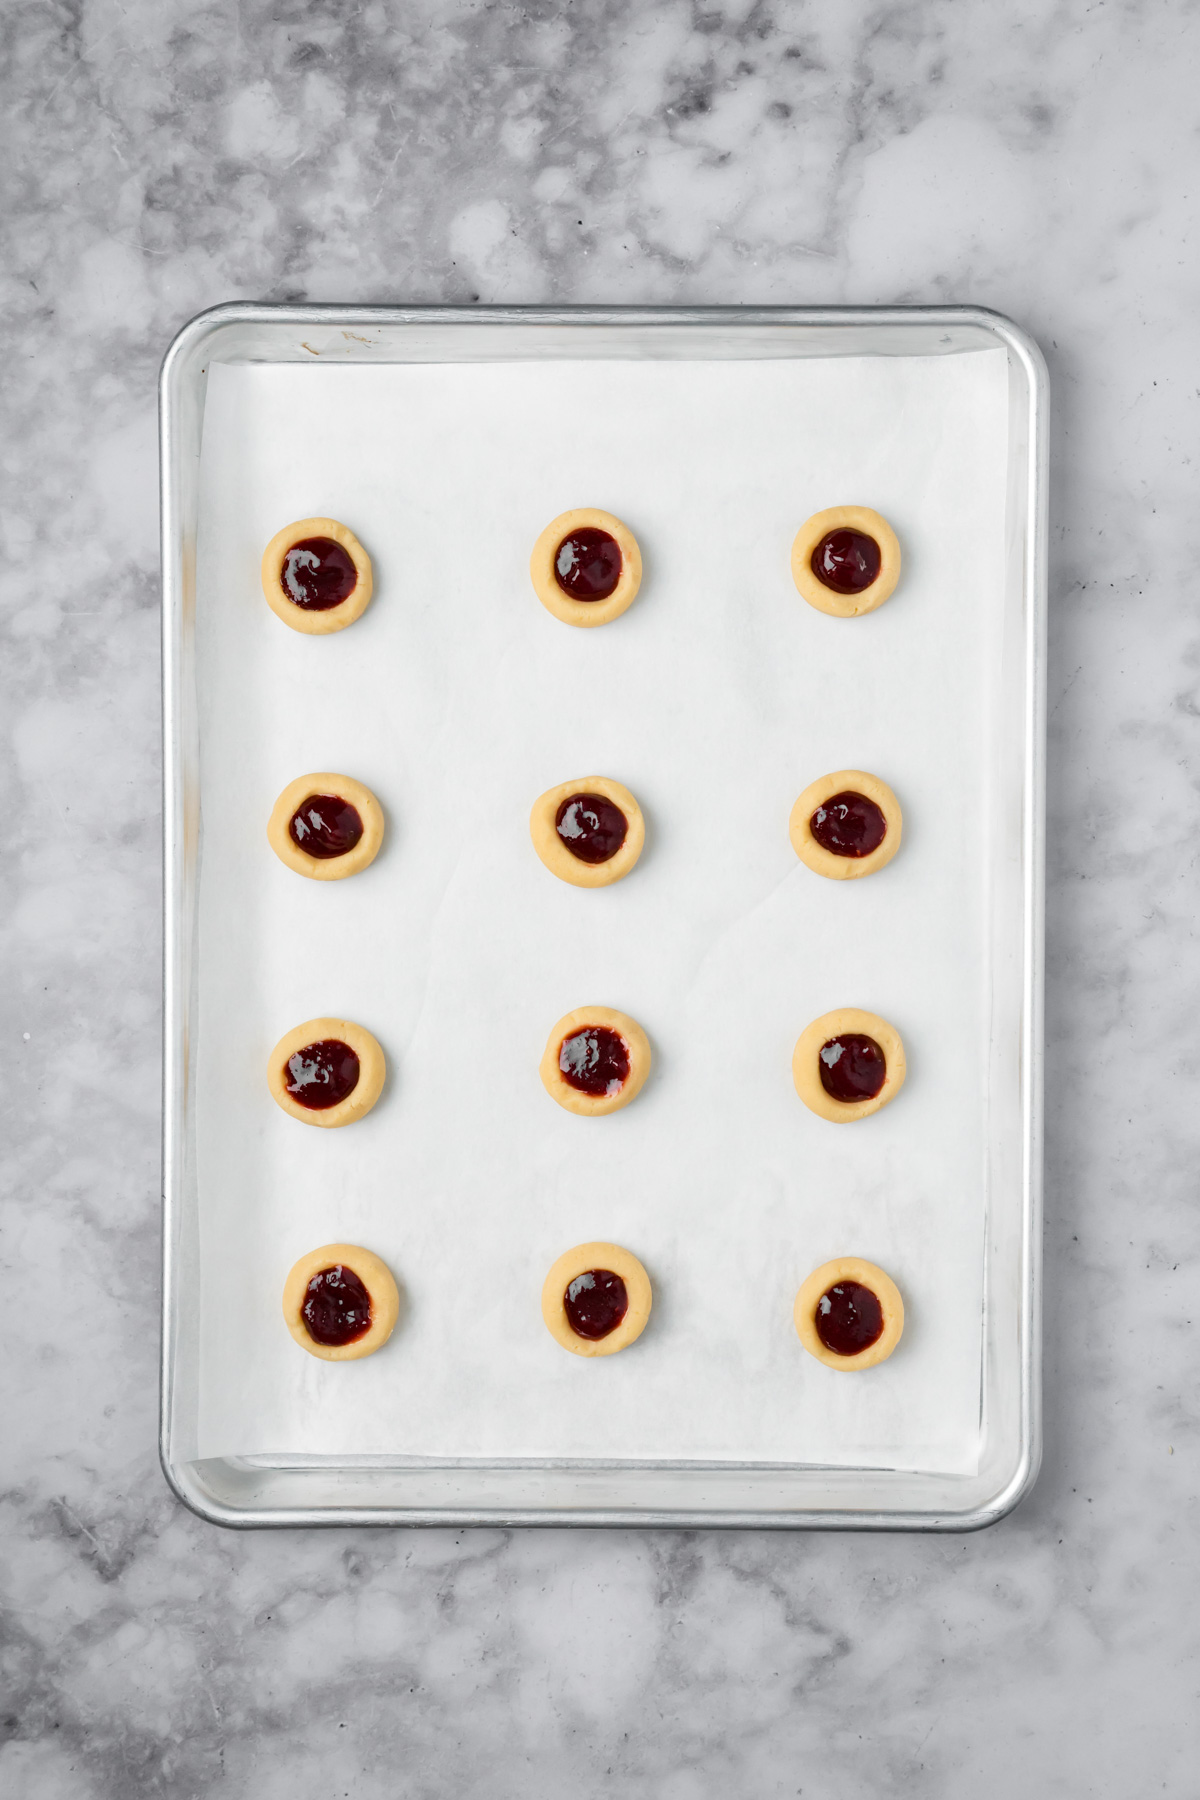
Step 10: Bake in the oven for 10-12 minutes until the edges begin to turn golden brown.
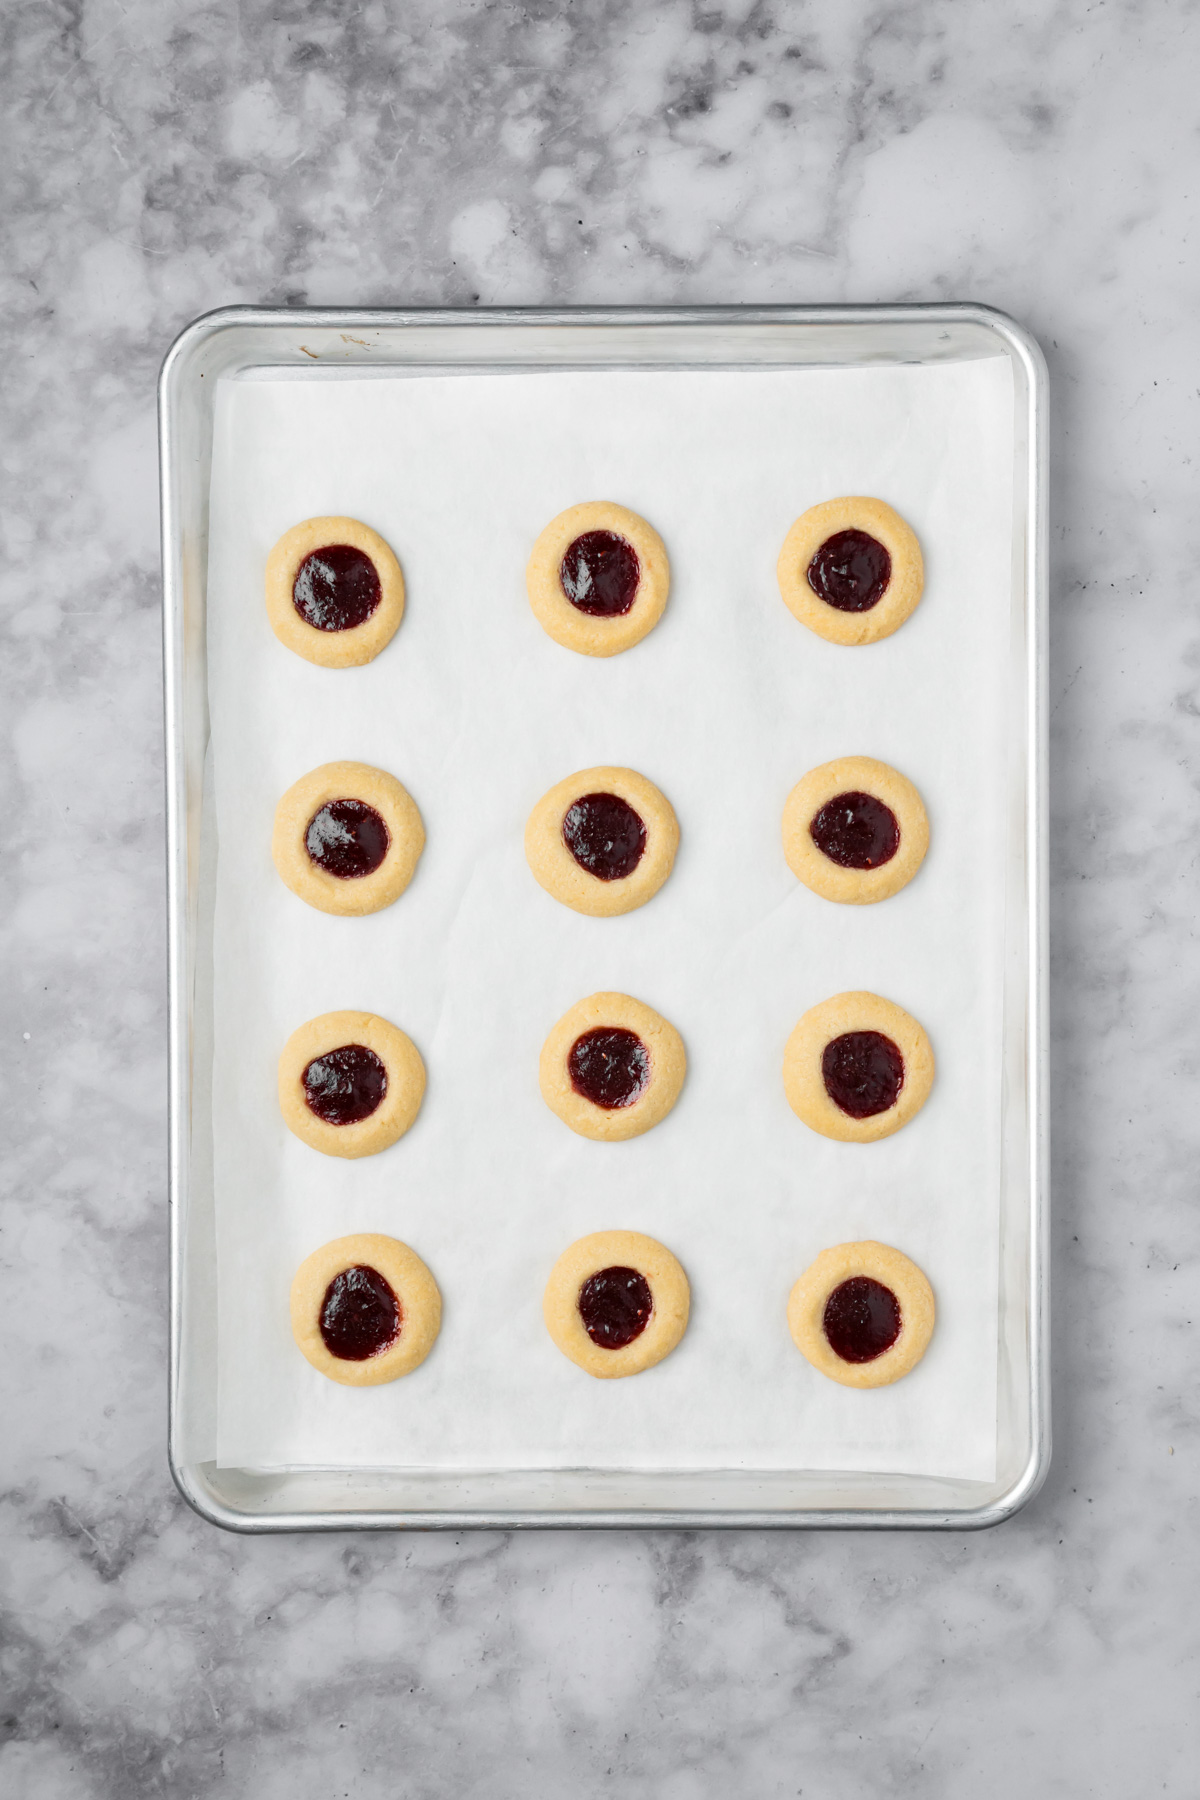
Step 11: Remove from the oven and allow the cookies to cool.
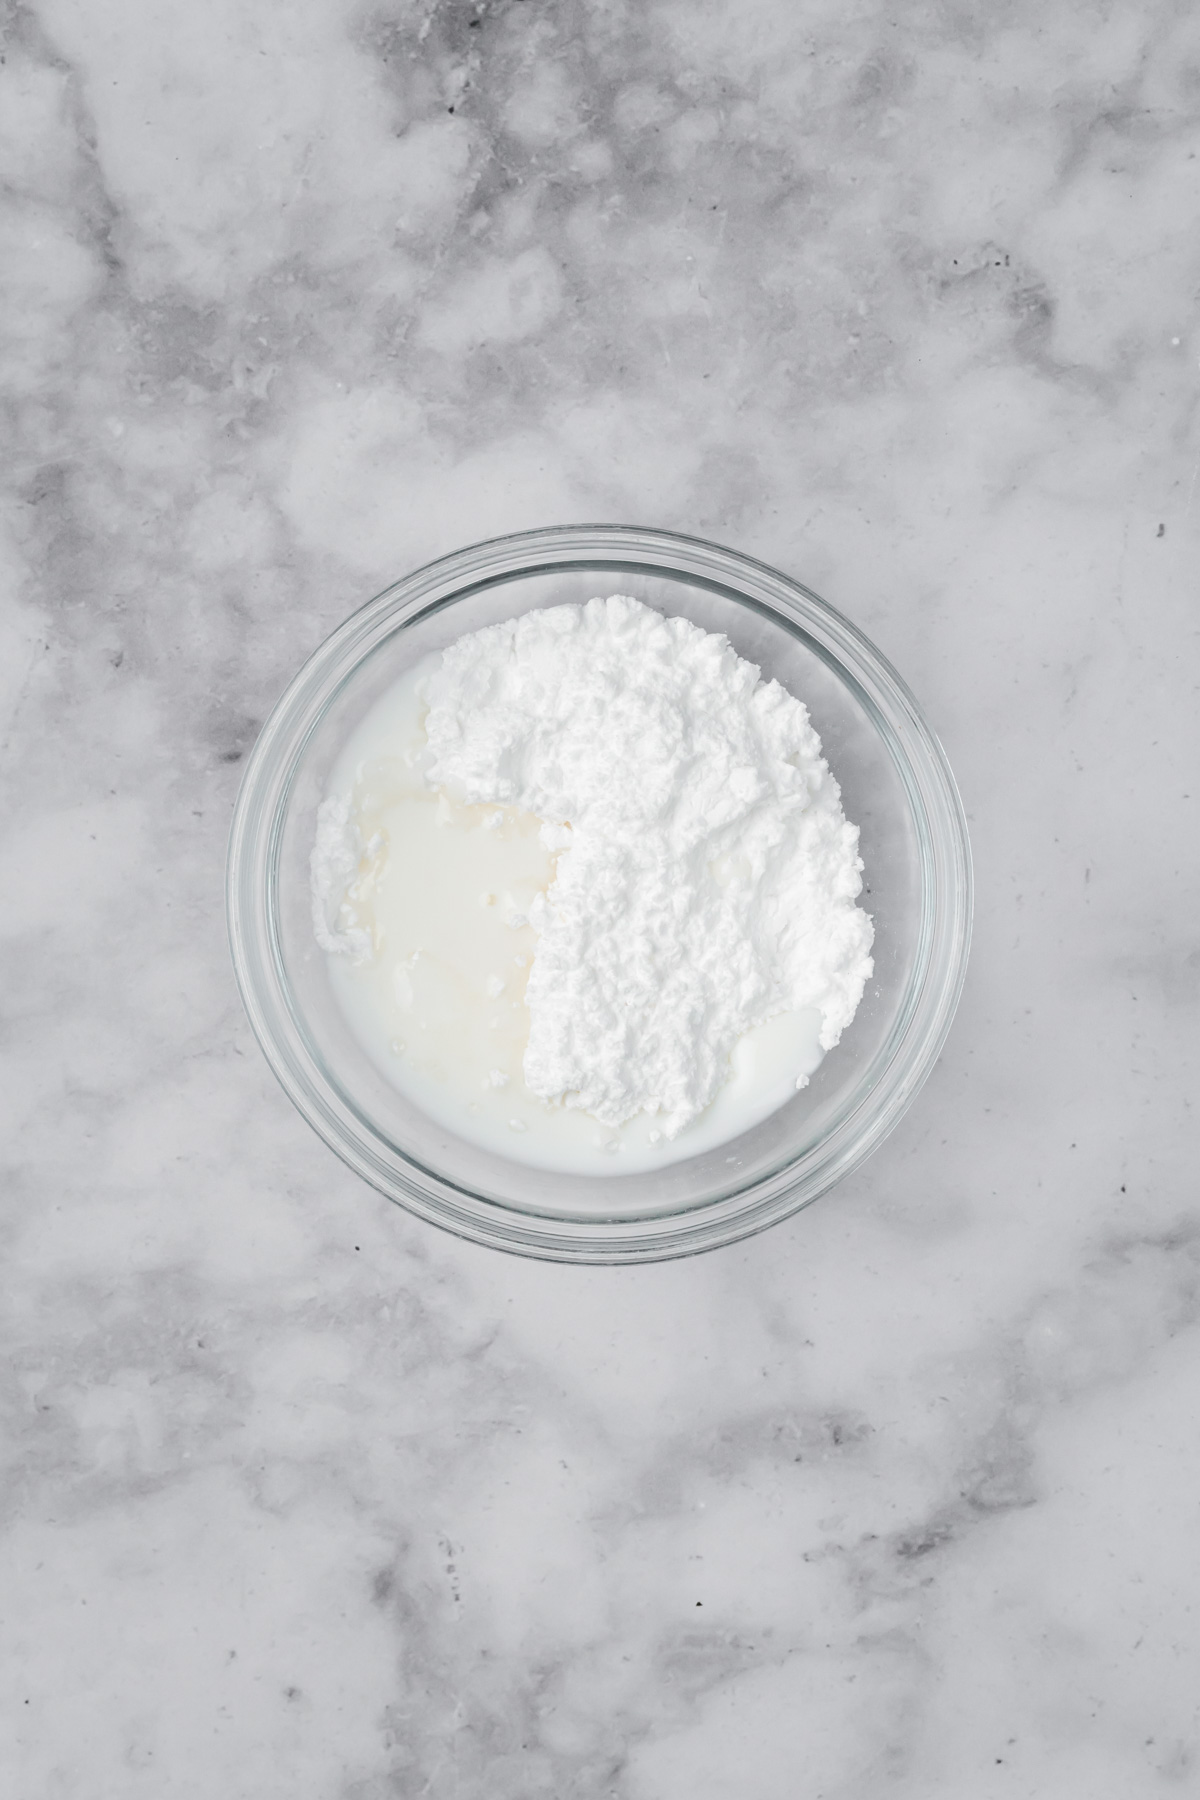
Step 12: While the cookies are cooling, make the glaze. In a small bowl whisk together the confectioner’s sugar and milk until smooth. Note: Glaze will be thick.
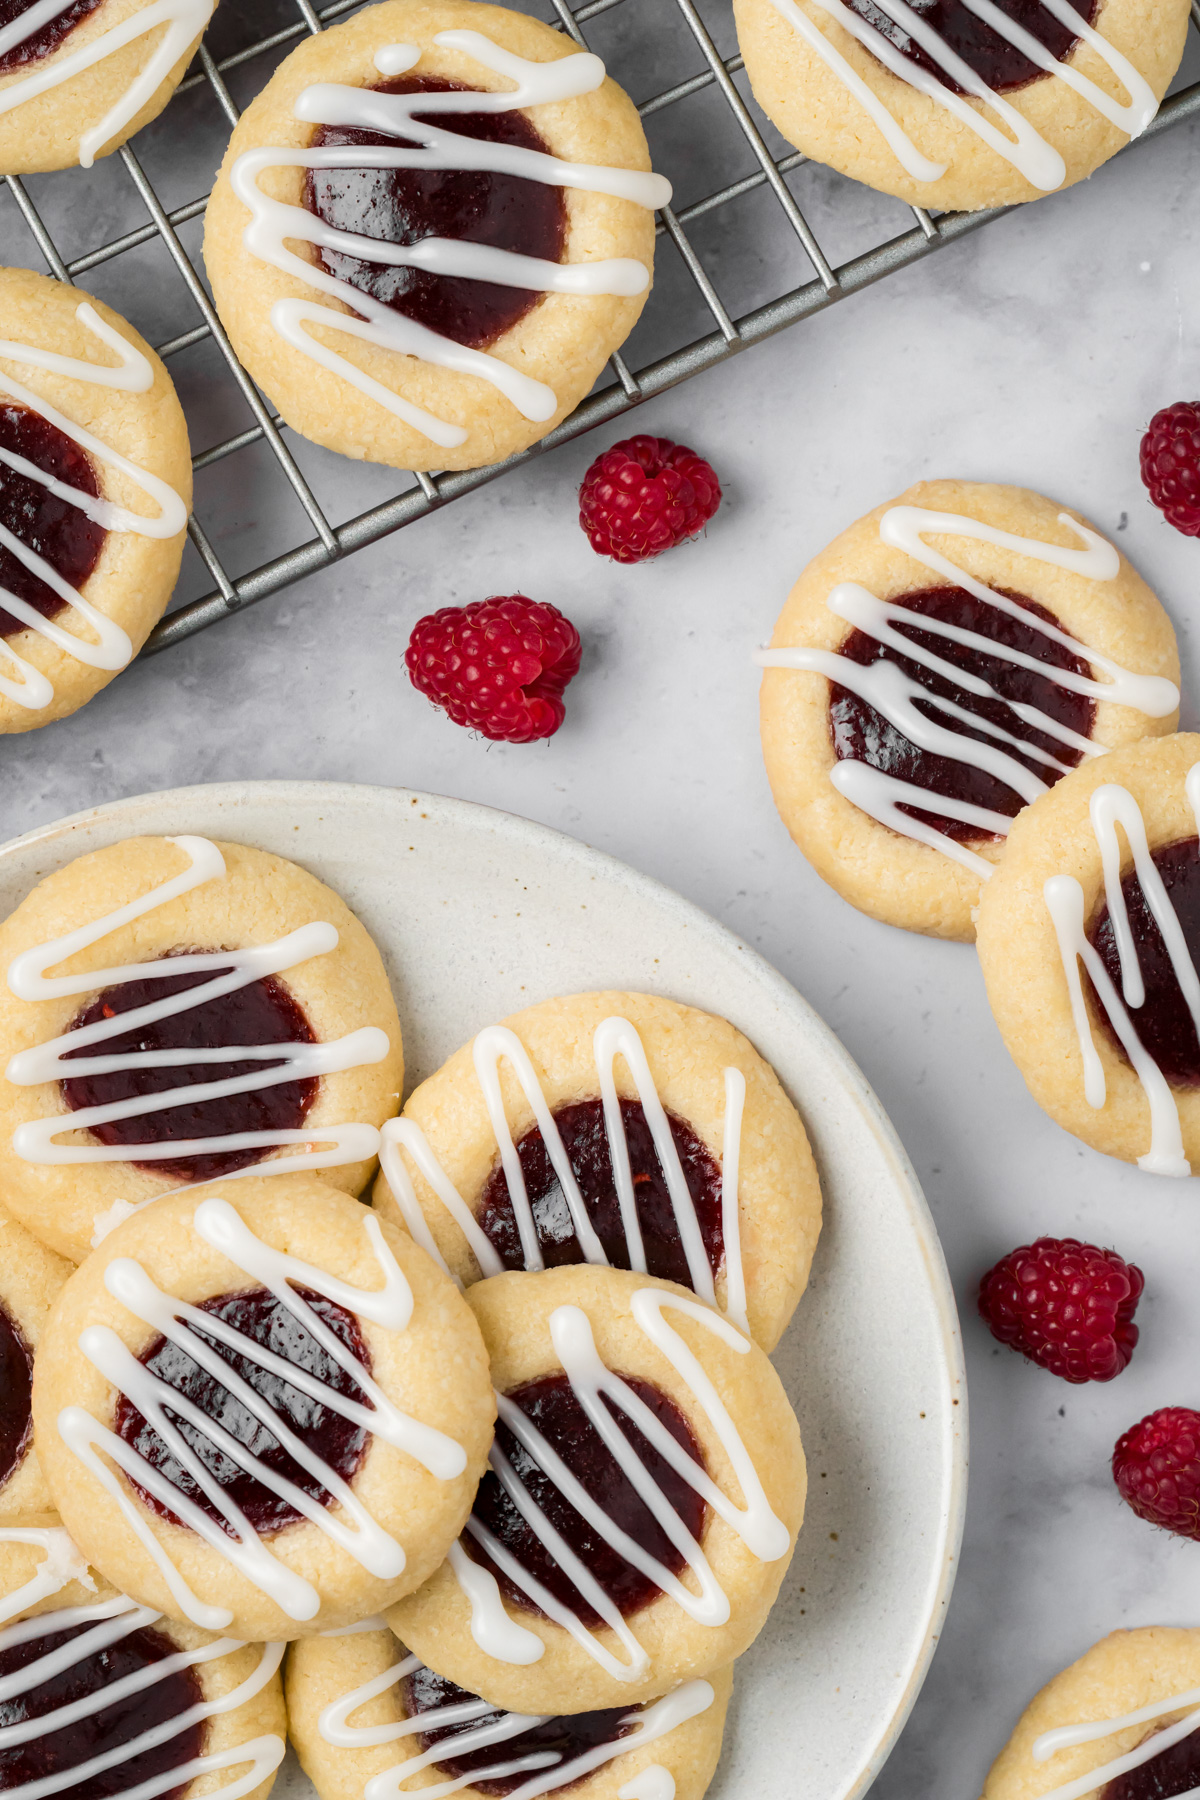
Step 13: Add the frosting to a zip top bag with the corner cut or a piping bag and pipe a thin zig zag across the top of each cookie.
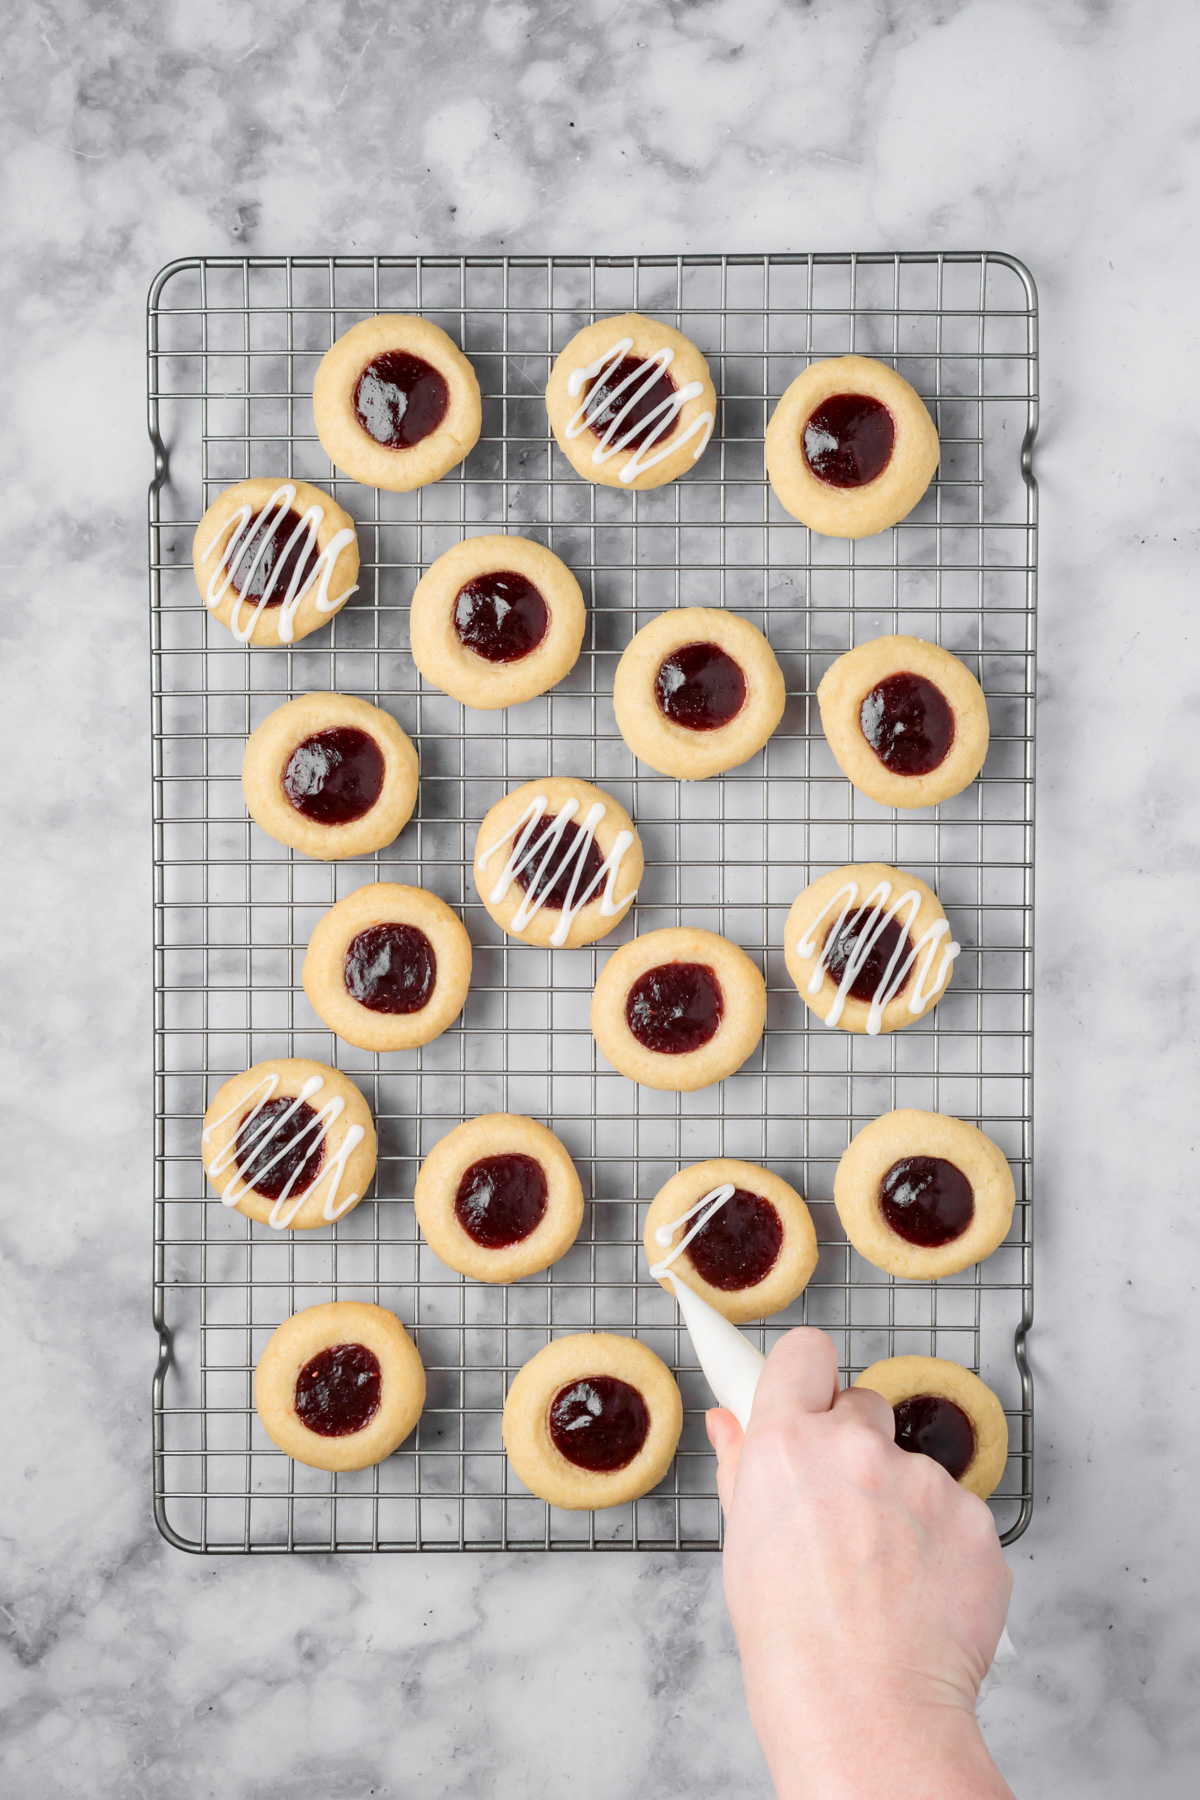
Step 14: Finally serve and enjoy!
Expert Tips
- Use properly softened butter – The butter should be soft enough to cream easily with the sugars but not melted. Butter that’s too warm can cause the cookies to spread more during baking.
- Roll the dough until smooth – Roll each tablespoon of dough into a smooth ball before making the indentation. If small cracks appear around the edges when you press in your thumb or teaspoon, gently smooth them with your fingers to help keep the jam from leaking out.
- Don’t skip freezing the dough – Freezing the shaped cookies for 30 minutes helps firm up the butter and allows the cookies to hold their shape during baking. Keep any remaining dough chilled while baking multiple batches.
- Use thick raspberry jam – Choose a good-quality, seedless raspberry jam that isn’t too runny. Spoon enough into each indentation to fill it without overflowing, since the jam may bubble as the cookies bake.
- Cool completely before glazing – Allow the cookies to cool completely before adding the confectioners’ sugar glaze. If they’re still warm, the glaze may melt and run off. Let the glaze set before stacking or storing the cookies.
FAQs
Absolutely! Strawberry, blackberry, apricot, and cherry jams are all delicious alternatives to raspberry. Choose a thick jam or preserve that will stay in the indentation during baking. Seedless varieties provide a smoother filling, but you can use jam with seeds if you prefer.
Cookies can spread too much if the butter is overly soft, the flour is measured incorrectly, or the dough isn’t sufficiently chilled. Make sure to measure the flour using the spoon-and-level method and freeze the shaped cookies for the full 30 minutes before baking.
Not at all! The cookies are delicious with just the buttery dough and fruity raspberry filling. The confectioners’ sugar glaze is completely optional, but it adds a little extra sweetness and a decorative finish. I like making half glazed and half unglazed to have different options on my cookie table.
Storage Information
You can store any leftovers of these Raspberry Thumbprint Cookies in an airtight container at room temperature for 2-3 days. You can also store them in your fridge for 1 week.
For longer storage you can freeze them in your freezer for up to 3 months. I recommend freezing them without the glaze and you can glaze them when you’re ready to serve.
More Cookie Recipes to Love

Raspberry Thumbprint Cookies Recipe
Recommended Products
Ingredients
For the Cookies
- 1 cup butter - softened
- 1/3 cup granulated sugar
- 1/3 cup brown sugar - packed
- 1 egg yolk
- 3/4 tsp vanilla extract
- 2 1/4 cups all-purpose flour
- 2 tsp cornstarch
- 1/2 cup seedless raspberry jam
For the Glaze
- 1/2 cup confectioner’s sugar
- 2 tsp whole milk
Instructions
- In a bowl of a stand mixer with a paddle attachment add the butter and sugars and beat until fluffy. Scrape down the sides as needed.
- Next, add the egg yolk and vanilla extract and mix until combined.
- Then add the flour and cornstarch and mix until dough forms.
- Scoop 1 Tablespoon sized cookie dough balls and roll well so there are no cracks.
- Using the back of a teaspoon, or your thumb, gently press an indent in the center of the cookie dough. Be sure to smooth out any cracks.
- Transfer the cookie dough balls to the freezer and chill for 30 minutes.
- Towards the end of the chilling time preheat your oven to 375 degrees Fahrenheit.
- Next, place the jam in a microwave safe bowl and microwave for 5-7 seconds to help loosen the jam then whisk the jam until smooth.
- Spoon the jam into each indent to the brim.
- Bake in the oven for 10-12 minutes until the edges begin to turn golden brown.
- Remove from the oven and allow the cookies to cool before adding the glaze.
- While the cookies are cooling, make the glaze. In a small bowl whisk together the confectioner’s sugar and milk until smooth. Note: Glaze will be thick.
- Add the frosting to a zip top bag with the corner cut or a piping bag and pipe a thin zig zag across the top of each cookie.
- Finally serve and enjoy!