These chocolate mint sandwich cookies are soft and chewy with homemade peppermint buttercream inside. This is my mom’s famous recipe!

These are the cookies my mom would ALWAYS make every year at Christmas. They’re thick, soft and filled with a sweet peppermint buttercream. I get numerous requests for this recipe every holiday season, so here it is!
Traditionally, these cookies are filled with green peppermint frosting, however, we like to make half of the batch with a pink tinted crushed candy cane buttercream. The choice is yours folks! If you’re a super indecisive person like myself, do both.

This cookie recipe is different than any other cookie recipe I have ever made. Why? Because you make it on the stovetop!
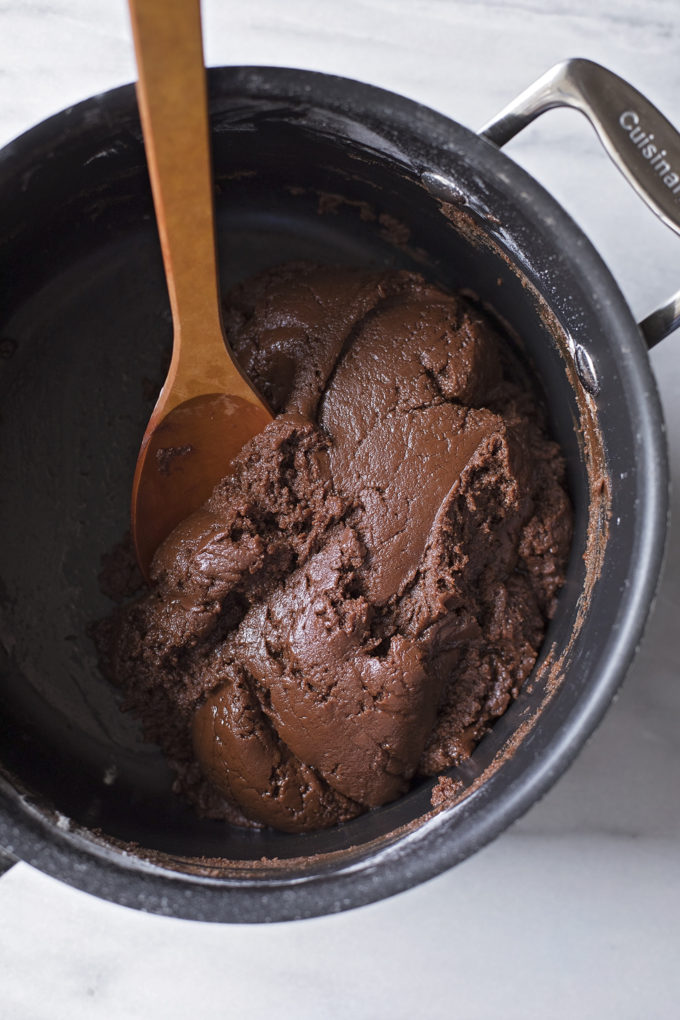
The butter and sugar get melted in a large nonstick pot, then you remove it from the heat and stir in a bag of semisweet chocolate chips, water, and the dry ingredients. Pretty strange, huh? I like to use a wooden spoon to mix the dough together. It’ll look shiny and greasy, don’t freak out, you haven’t ruined it! As it bakes it magically transforms into thick, chewy cookies.
After the dough has been mixed, you’ll want to roll in into balls. I typically make mine about 1 ½ inches in diameter.
Place the dough onto a lined baking sheet. Parchment or silicone mats are both great options. You can place more cookies on the sheet because they don’t spread as much as a classic chocolate chip cookie would. 20 instead of 12 is standard for this recipe.

Bake the cookies for 8-10 minutes. DO NOT OVER BAKE. The cookies should still be soft, not hard and dry. Remove the cookie sheet from the oven and let the cookies cool for 3 minutes before transferring them to a wire rack to cool completely. This will allow them to set.
While the cookies are cooling make the buttercream frosting. You can either do this in a stand mixer or in a large mixing bowl using a hand mixer. The process is pretty straightforward. Cream the butter with the salt, add the powdered sugar, then the milk, peppermint and food coloring (and candy canes if desired).

Pipe the buttercream into the center of one cookie, then add a matching cookie on top. Gently sandwich the cookies together. Let them sit for 30 minutes to allow the frosting to set or harden.
NOTE: I grew up using a knife to spread the frosting on, however now I use a large 18-inch pastry bag fitted with a round tip to do it. This method is quicker and more uniform. Both methods work! ?

Watch these chocolate mint sandwich cookies disappear before your eyes. Seriously! My mom still gets requests for these cookies, they are loved by families all over northern California. I hope you’ll love them too!
LOOKING FOR MORE AMAZING PEPPERMINT RECIPES? TRY THESE:
- Homemade Peppermint Bark
- Peppermint Lofthouse Cookies
- White Chocolate Peppermint Popcorn
- Peppermint Snack Mix
- Peppermint Shortbread Cookies
- Peppermint Frosted Brownies
Need more recipes? Subscribe to my email list! Simply enter your email in a subscription box located on the right hand side of the blog or scroll below the recipe and sign up there. You’ll receive posts, newsletters and so much more!
BE SURE TO FOLLOW ME ON FACEBOOK, INSTAGRAM & PINTEREST!

Chocolate Peppermint Sandwich Cookies Recipe
Recommended Products
Ingredients
For the Dough
- 3/4 c. 1 ½ sticks unsalted butter
- 1/2 c. brown sugar - packed
- 1 12 oz. bag of semisweet chocolate chips
- 2 tbsp. water
- 1/2 teaspoon vanilla extract - optional
- 2 eggs
- 3 c. all-purpose flour
- 1 1/4 tsp. baking soda
- 1 tsp. coarse kosher sea salt
For the Frosting
- 1/3 c. unsalted butter - softened
- 1/8 tsp. coarse kosher sea salt
- 3 c. powdered sugar
- 3/4 teaspoon peppermint extract
- 2-4 tbsp. whole milk
- food coloring - optional
- 3 tbsp. finely crushed candy canes - optional
Instructions
- Preheat oven to 350 degrees Fahrenheit (175 degrees Celsius). Line a baking sheet with parchment paper or silicone baking mats, and set aside.
- In a large saucepan over low heat, melt butter. Add brown sugar and stir with a heatproof spatula. Remove the mixture from heat. Add water, then chocolate chips, stirring until the chips are melted.
- Beat in eggs one at a time, then add the vanilla. Fold in the flour, baking soda, and salt. Mix until a buttery dough forms (it will look greasy).
- Roll dough into 1½” balls and place on a baking sheet. Bake for 8-10 minutes. Remove from oven and allow to cool on the baking sheet for 3-4 minutes before transferring to a wire rack to cool completely.
- While the cookies are cooling, in the bowl of a stand mixer or a large mixing bowl with a hand mixer, cream butter and salt for 1 minute. Turn the mixing speed to low, gradually add powdered sugar, one cup at a time. Add milk and peppermint extract (and food coloring or candy canes if desired). Gradually increase speed and beat for 2 minutes until light and fluffy.
- Place the frosting into a large piping bag fitted with a large round tip and pipe onto one side of a cooled cookie. Match up similar size/shape cookies. Allow the cookies to sit for 30 minutes before serving.


The chocolate cookies have a great texture and don’t crumble when you bite in.
Season’s greetings! I plan to make these yummy looking cookies but I would like to make the dough a day ahead – can I shape them into balls and pop them in the frig overnight and bake them the next day?
Thanks for your quick reply!
Hi Patsy,
Yes you can absolutely do this! Just note the baking time might be a little longer with the chilled dough.
Can I make 6 dozen of these and reliably convert the recipe?
Hi Amber, yes you can. You can let our website do the work for you. Choose Print on the recipe card and it will show 12 cookies at the top. Just change that number to 72 and then print the recipe with the new amounts.