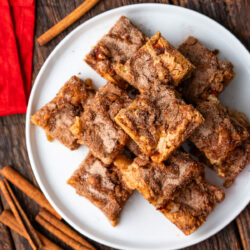
Get ready for a chocolate treat! These Fudgy Flourless Brownies are gluten-free, super chewy, and come together in just 30 minutes.

These Fudgy Flourless Brownies are rich, dense, and irresistibly chocolatey, with a melt-in-your-mouth texture that rivals any classic brownie. Made without flour, they get their decadent structure from melted chocolate, butter, and sugar, creating an ultra-smooth crumb and deep cocoa flavor in every bite.
No need for strange ingredients to enjoy these intense fudgy flourless brownies! If you need more must-make flourless recipes, you’ll also love Flourless Oatmeal Chocolate Chip Cookies, Flourless Nutella Raspberry Cake, and Flourless Peanut Butter Cookies.
Table of Contents
Why We Love These Fudgy Brownies
- Ready in just 30 minutes, Fudgy Flourless Brownies are perfect for last-minute desserts.
- These brownies are dense and moist, making every bite delightful.
- With no flour, Fudgy Flourless Brownies can be a slightly healthier chocolate treat that’s also gluten free.
Recipe Ingredients
Semisweet Chocolate – We really prefer Ghirardelli chocolate for its deep, smooth flavor, but any high-quality semisweet chocolate will work. It adds richness and depth that makes the brownies taste indulgent and intense.
Unsweetened Cocoa Powder – For a deeper, more intense chocolate flavor, go with Dutch-process cocoa powder. It gives the brownies a dark, almost bittersweet taste.
Vanilla Extract – Adds a mellow sweetness and rounds out the richness of the chocolate.
For a full list of ingredients and amounts, see the recipe card below.
How to Make Fudgy Flourless Brownies
Step 1: Preheat the oven to 350°F (175°C). Line an 8×8 or 9×9-inch square pan with foil (prefer a metal one), then lightly spray or butter, and set aside.
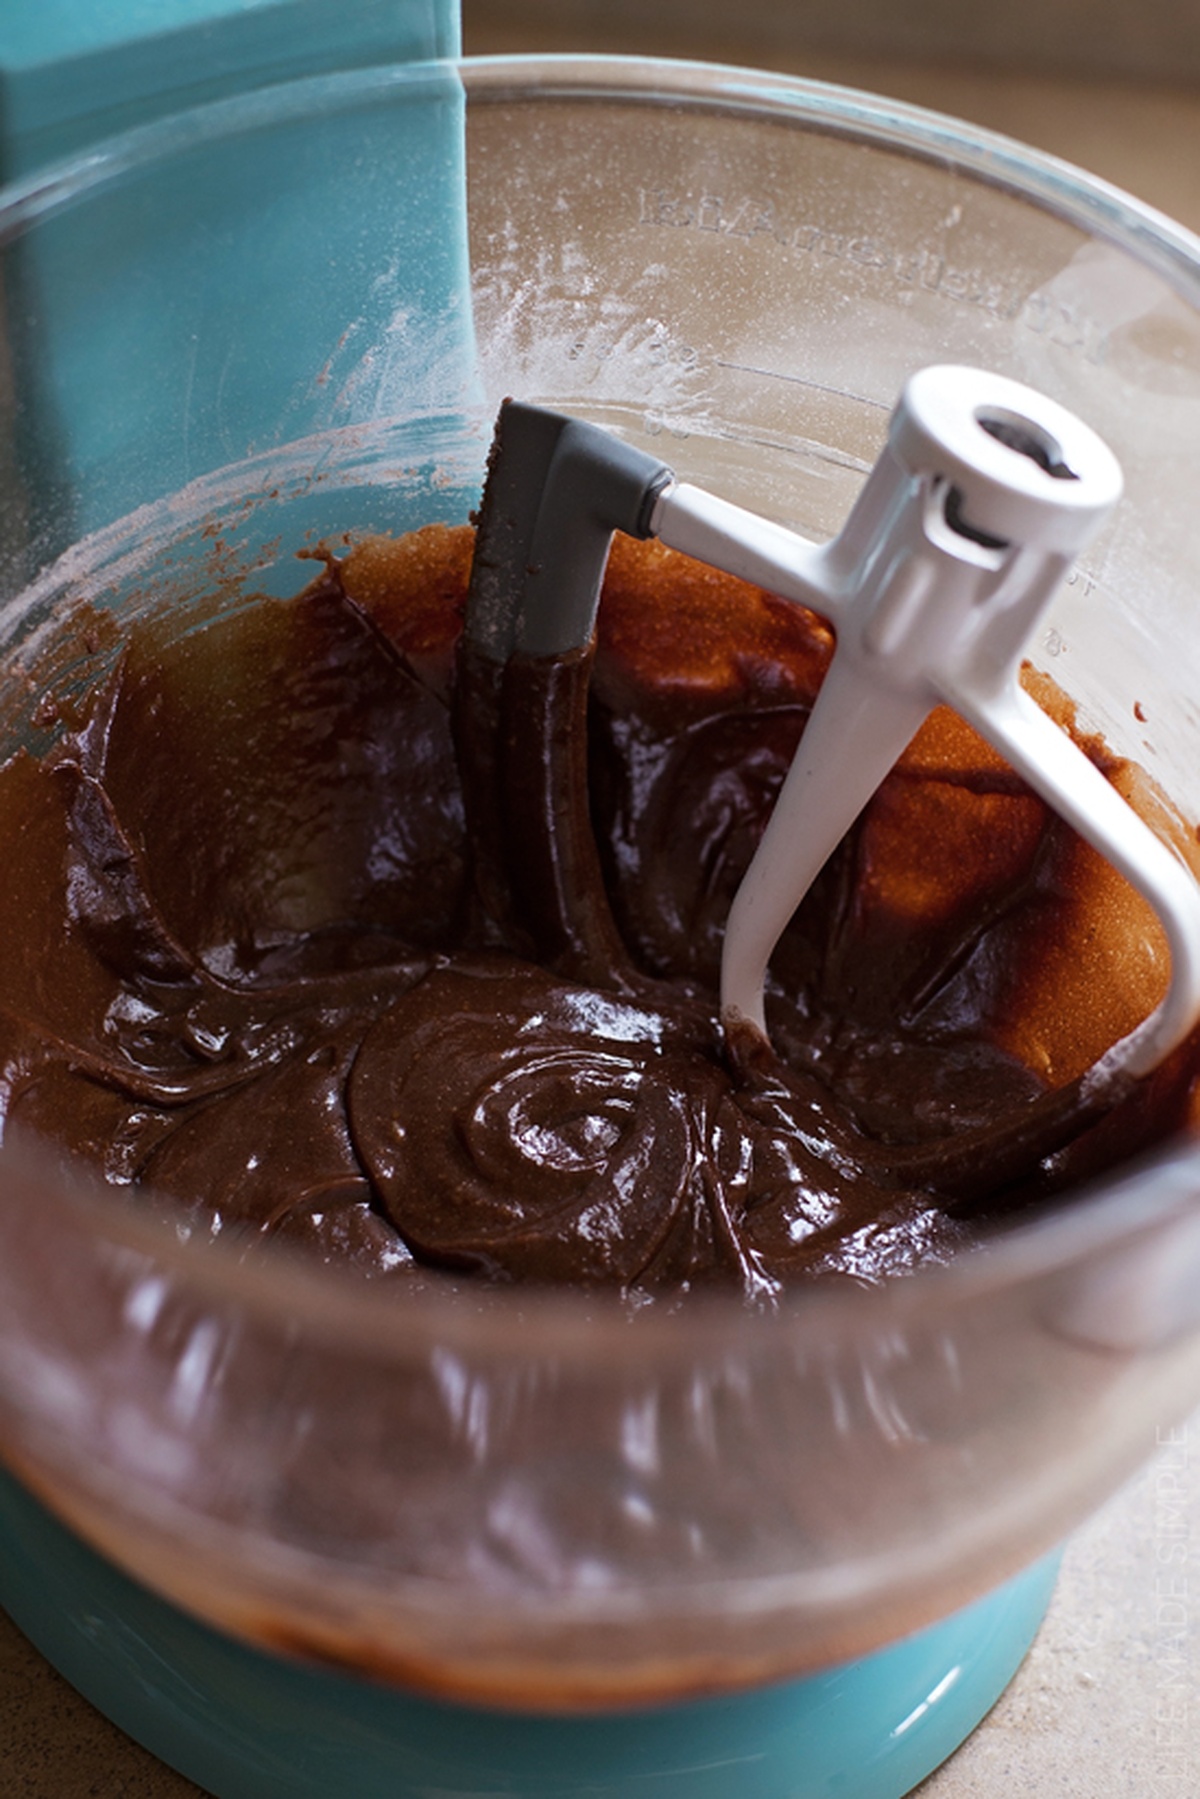
Step 2: In a small saucepan set over low heat, melt the butter, then add the sugar. Once the sugar is incorporated, add the chopped chocolate, stirring until smooth. Remove from the heat and beat for 2 minutes with a hand mixer or whisk. Add the eggs, one at a time, then the vanilla extract.
Step 3: Using a mesh sieve (or a sifter), sift the cocoa powder and cornstarch into the saucepan, then add the salt. Stir together, then beat the batter vigorously for 1-2 minutes. I like to use a hand mixer for this on medium speed. Beat until the batter is smooth and shiny.
Step 4: Pour the batter into the prepared pan and bake for 22-30 minutes or until the brownies are set in the center, taking care not to over-bake. Remove from the oven and let cool in the pan for 45 minutes before removing and slicing.

Expert Tips
Check Doneness Early – Start checking for doneness at the 22-minute mark by inserting a toothpick into the center. It should come out with a few moist crumbs—not clean—for a rich, fudgy texture.
Line with Parchment Paper – For easier removal and cleaner edges, line the pan with parchment paper. Leave an overhang on the sides so you can lift the brownies out without breaking or sticking.
FAQs
Yes, allow the brownies to cool completely in the pan before slicing. This helps set the texture and makes cutting easier, resulting in cleaner slices.
Yes, you can add mix-ins such as nuts or chocolate chips to the batter. Fold them in gently after the batter is fully mixed for an extra burst of flavor and texture.

Storage Info
STORE Fudgy Flourless Brownies in an airtight container at room temperature for up to 4 days. For longer storage, FREEZE them in a single layer, then transfer them to a freezer-safe bag or container for up to 3 months.
To REHEAT, microwave individual brownies for 15-20 seconds or warm them in a preheated oven at 350°F (175°C) for 5-10 minutes.
More Tasty Brownies to Try

Fudgy Flourless Brownies Recipe
Ingredients
- 6 tbsp unsalted butter
- 3/4 cup granulated sugar
- 8 oz semisweet chocolate - chopped
- 2 eggs - room temperature
- 1 tsp vanilla extract
- 1 tbsp unsweetened cocoa powder
- 3 tbsp cornstarch
- 1/4 tsp salt
Instructions
- Preheat the oven to 350°F (175°C). Line an 8×8 or 9×9-inch square pan with foil (prefer a metal one), then lightly spray or butter, and set aside.
- In a small saucepan set over low heat, melt the butter, then add the sugar. Once the sugar is incorporated, add the chopped chocolate, stirring until smooth. Remove from the heat and beat for 2 minutes with a hand mixer or whisk. Add the eggs, one at a time, then the vanilla extract.
- Using a mesh sieve (or a sifter), sift the cocoa powder and cornstarch into the saucepan, then add the salt. Stir together, then beat the batter vigorously for 1-2 minutes. I like to use a hand mixer for this on medium speed. Beat until the batter is smooth and shiny.
- Pour the batter into the prepared pan and bake for 22-30 minutes or until the brownies are set in the center, taking care not to over-bake. Remove from the oven and let cool in the pan for 45 minutes before removing and slicing.


How thick do these brownies turn out in the 9 inch pan?
They’re about 3/4″ thick.
hi will it work without cornstarch
Nope! You have to use it (or arrowroot powder). It helps hold them together, gives them their texture and replaces the flour 🙂
Can you use baking soda instead of cornstarch
NO!
Thanks Marilyn! The answer is definitely no!
I know you said the cornstarch was necessary but what about if you’re dealing with a sensitivity to corn? Do you think arrowroot powder could be substituted or maybe potato starch? Looks so delicious! I definitely plan to try them!
Hi Bre! I’ve actually never used arrowroot powder before so I’m not sure about that, but I think potato starch should work just fine! Let me know!
Hi! I was just wondering how they taste after a couple of days (around 3-4 days granted that they aren’t devoured the first day). Do they stay chewy and moist?
Hi Elizabeth! We had ours around for probably 2-3 days and they started to dry out a bit, but not bad. Just make sure to keep them in an air-tight container. You can always use the old trick of putting a piece parchment paper or wax paper over the top of them and then adding slice of bread to keep them extra fresh. This trick works with most baked goods- if you’re gluten-free I’m sure it would work with GF bread too 🙂
Yes you can use arrowroot powder in place of corn starch. I tried it with great success ?
Hi Natalie..i used the same amount of coconut sugar in the place of the granulated sugar and arrowroot powder.. Came out amazing…
Worst brownies ever! Usually make Keto brownies from Costco and I ran out so tried this recipe. What a waste of great ingredients. They had a rubbery texture, I’m assuming from the cornstarch.
I’m so sorry they didn’t turn out for you. It seems people are getting varied results from this recipe. Lots of things can affect it like elevation, the type of pan you used and if any substitutions were made. There are many people that have commented on how they got it to work if you would like to see what others have done. For instance, some with corn allergies tried using arrowroot successfully.
Hey Bre,
Arrowroot powder should work just fine as a corn starch substitute.
I subbed arrowroot, same amount, worked just fine!
this recipe did not work at all – and I tripled it so I lost lots of ingredients! they never hardened.
I’m sorry, that’s so frustrating! I’m not sure why people are having such mixed results! What kind of pan did you use, and did you make separate pans for each batch?
I had the same experience – they looked completely uncooked and just bubbling when I checked them at 22 min and based on the bubbling and consistency, I didn’t feel keeping them in longer would have any effect. They did harden a bit when cooling but still crumbled when I tried to take them out of the pan and a 9″x9″ pan was way too big – they were thinner than cookies. So disappointed as the photo looked delicious…!
I have made this recipe many times and today for the first time I got the results mentioned here. Bubbly in the oven, and gritty texture. So disappointed! Will fiddle with the sugar butter mixture and the beating after the egg addition. Those are the only things I can think of that might affect the texture so that it separates in the baking.
That is so strange! I have yet to have these separate on me, however, I have struggled with a flourless cake separating. I definitely need to research more about why it’s happening!
I have had this happen a few times — I have found that making sure that the chocolate mixture has cooled (I leave it 10-15 minutes) before adding the eggs prevents the problem.
Good luck!
I’ve had that problem with regular brownie mixes, but only when I bake them in a glass pan. They always turn out fine in a metal pan… Maybe try that.
When working with gluten free brownies you should probably never double your batch let alone triple it. You are substituting flour which is the main reason why baking Goods rise, with a starch, which doesn’t make baked goods rise it just holds it together. Unless you know how your first batch will turn out, it would be a disaster to make that much and expect it to work. The consistency is completely different than doing normal baking with flour. These brownies won’t be really thick either because again you are not using flour you are using a starch they will almost be moist and chewy like. Possibly even thin. Sometime you have to toy with the recipe because depending on types of pans and also depending on elevation, even ovens it can turn out different. Always check it a couple minutes earlier then the time given do to this fact. At least the first time you ever make anything. Hope this helps. Thanks.
I usually use agar agar powder instead of corn stach, and it works perfectly in this amazing recipe 🙂
I’ve used arrowroot and tapioca starch in place of the cornstarch and both work great! Corn is a problem in our home. These brownies are delicious!
XANTHUM GUM IS ANOTHER OPTION TOO.
Nancy, can you please tell me what Xanthum Gum is used for and how it affects brownies for instance. Thank you.